大家好,我是灰色执照,很开心又给大家带来一期干货教程。
教程内容无论是设计还是代码部分100%由我原创。代码已经给大家准备好了,很简单你就能使用上。开源无版权,大家放心使用~
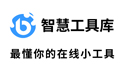
不知道从什么时候开始,很多大厂的云网站,都变成了使用这种非常有立体感的小图标,鼠标移入、移出都会有一个有意思的小动效。
▲ 阿里云的首页 https://www.aliyun.com/
▲ 鼠标移入、移出小图标的动效
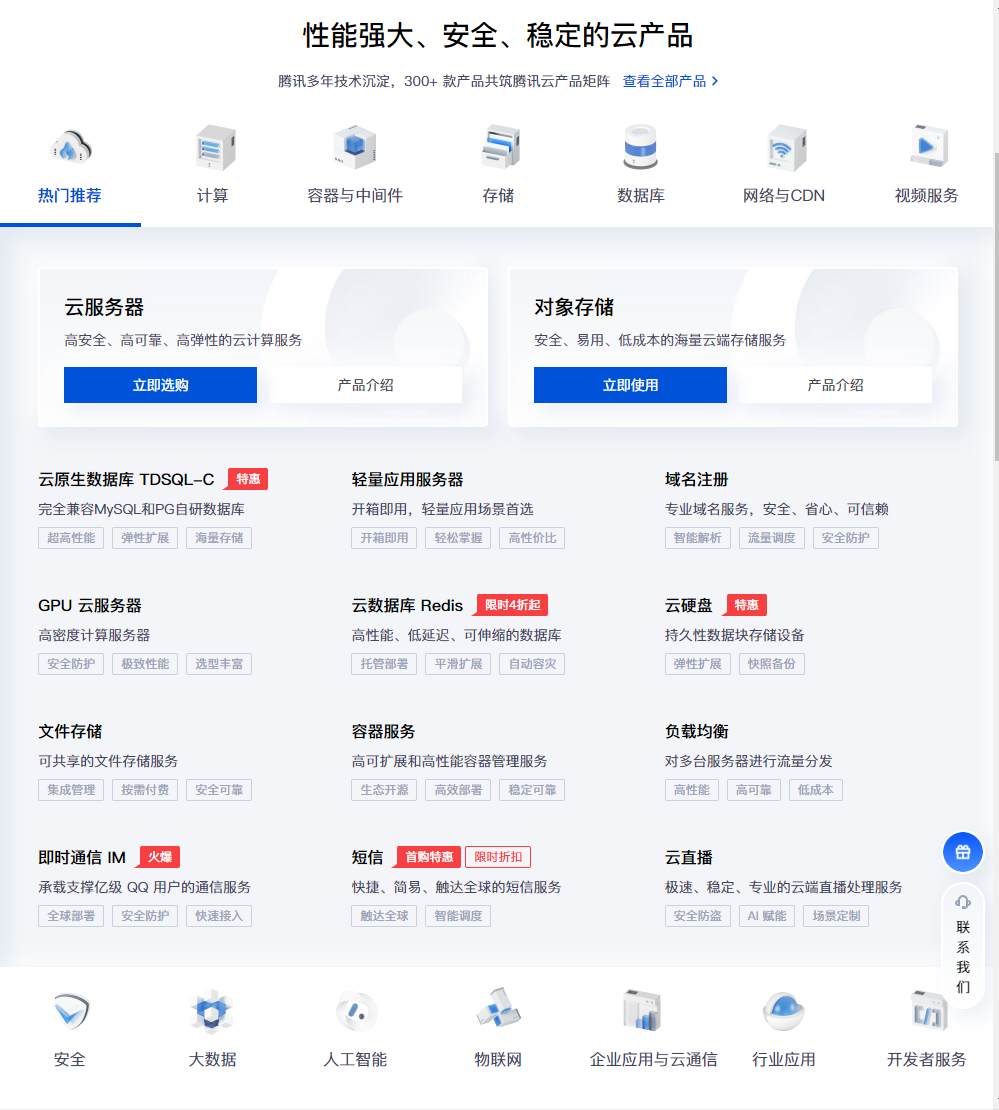
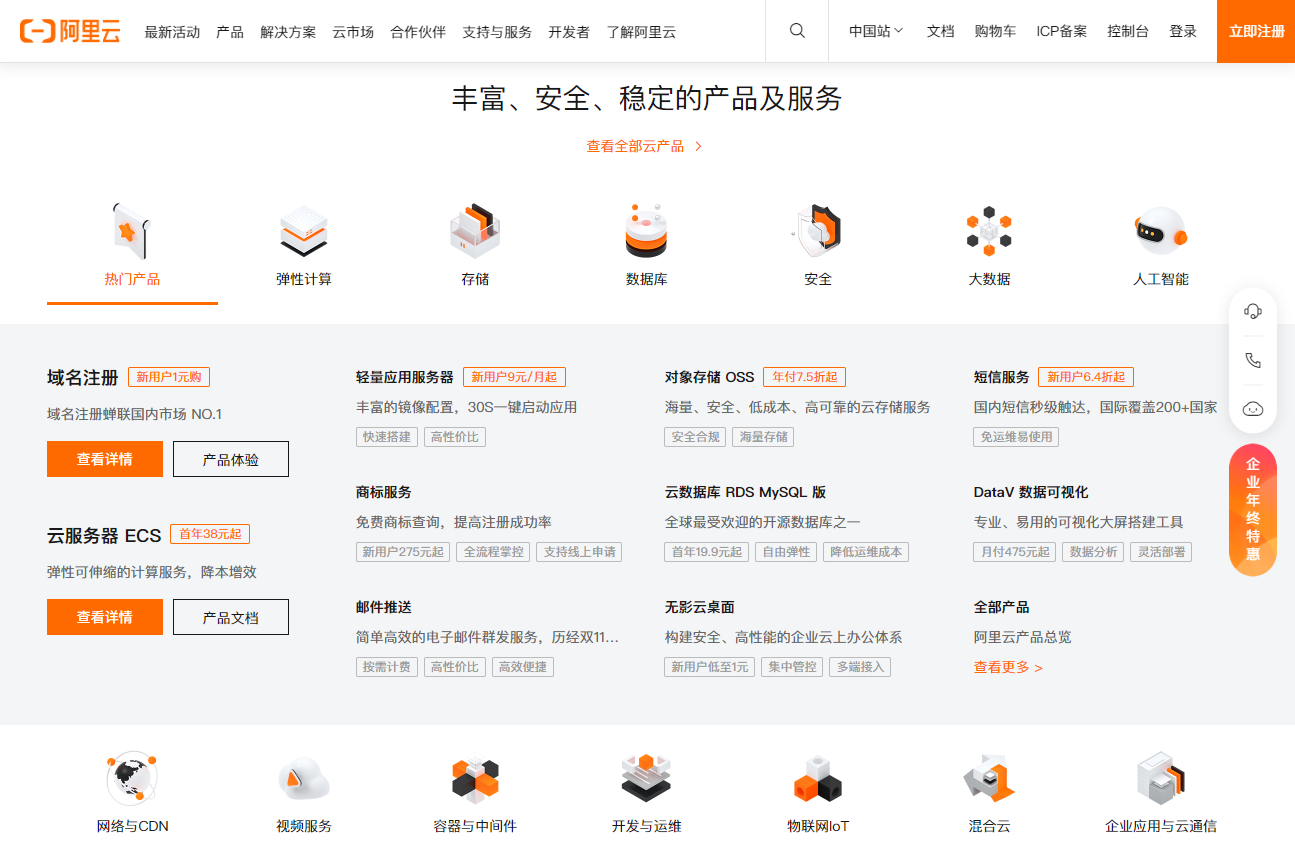
▲ 腾讯云首页
▲ 鼠标移入、移出小图标的动效
为了帮助大家了解这种动效的实现过程,阿灰特意写了一个非常详细的教程。教你制作并且实现这些效果。对于设计师,也可以只学习制作图标的部分,让程序员直接Copy我的代码。100%保证你的设计可以落地。
废话不多说,我们先看看我弄好的最终成果(访问下面蓝色链接就可以查看):
https://www.pslkzs.com/demo/cloud/index.html

▲ 这就是我开发制作好的效果了。
教程里面的模型都非常简单,因为我不能手把手几个小时教你建模、打灯光和渲染……我必须用最短的时间让你了解实现的整个过程。今后,你就可以使用自己的方式,完成属于你自己的阿里云立体小图标和动效了。
特别说明:本篇文章和阿里巴巴、腾讯没有任何关系,他的设计是如何做的,代码是怎么写的,我完全不知道。我只是利用自己的经验去思考他们制作好的效果,并且教会大家都能做出并且实现相似的动效。
为了让初级设计师更清楚的看清整个过程,我录制了非常详细的视频教程,我强烈建议你通过视频来学习,这样保证每个步骤都十分清晰。如果你在公司不方便观看视频,也可以直接看我们的图文教程。
- 视频教程部分 -
大家手动复制下面蓝色带下划线文字链接,去b站查看。
教学视频1:《日常前戏》
https://www.bilibili.com/video/BV1sS4y1o7Yk
教学视频2:《使用C4D制作小模型动效》
https://www.bilibili.com/video/BV1sS4y1o7Yk?p=2
教学视频3:《使用Adobe Xd制作分层小图标动效》
https://www.bilibili.com/video/BV1sS4y1o7Yk?p=3
教学视频4:《用代码实现效果》
https://www.bilibili.com/video/BV1sS4y1o7Yk?p=4
再三强调,UI设计师可以不用学习如何写代码。你只需要关注交付部分的图片是如何做成的即可。当然,技多不压身,你观看整个视频更有利于你知识面变得更开阔。更清楚你和研发之间的工作流程和关系,你了解得越多,你就越有话语权,没有人可以用“无法实现”来否定你的设计。
- 图文教程部分 -
教程1:C4D制作一个立体图标动效
最终效果
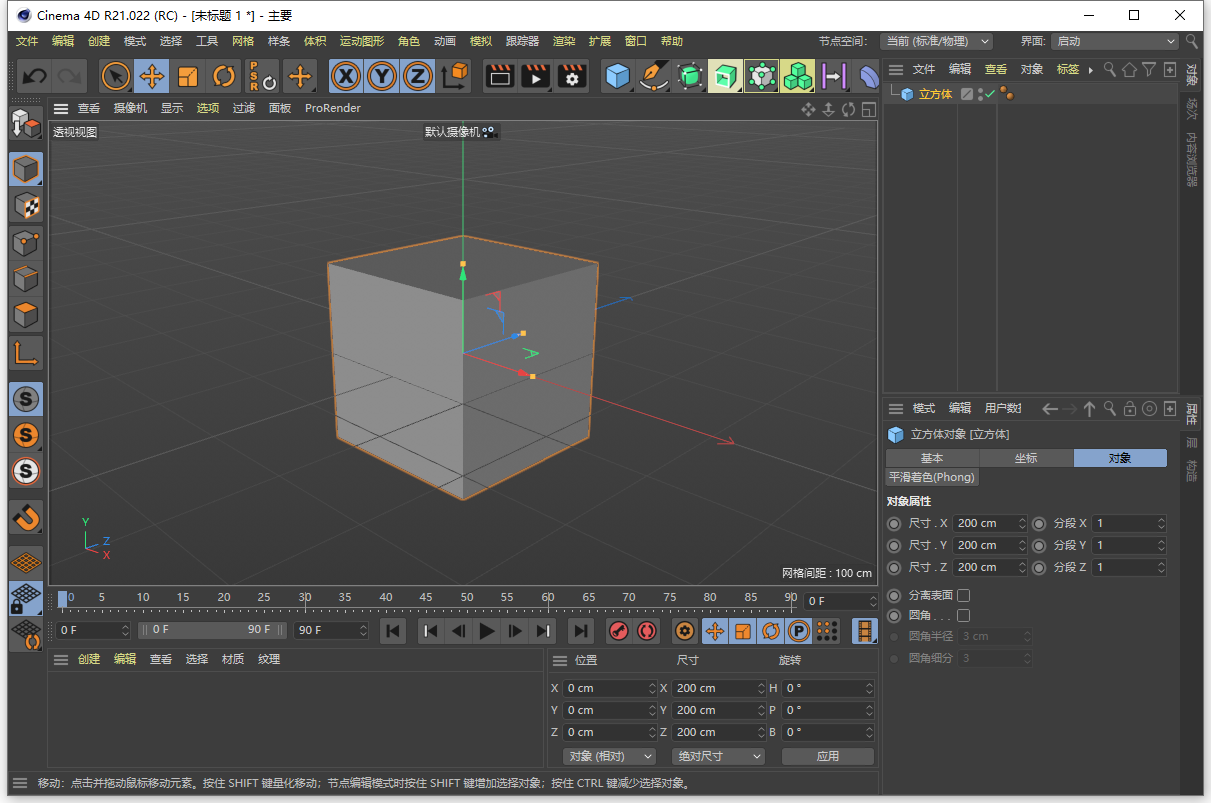
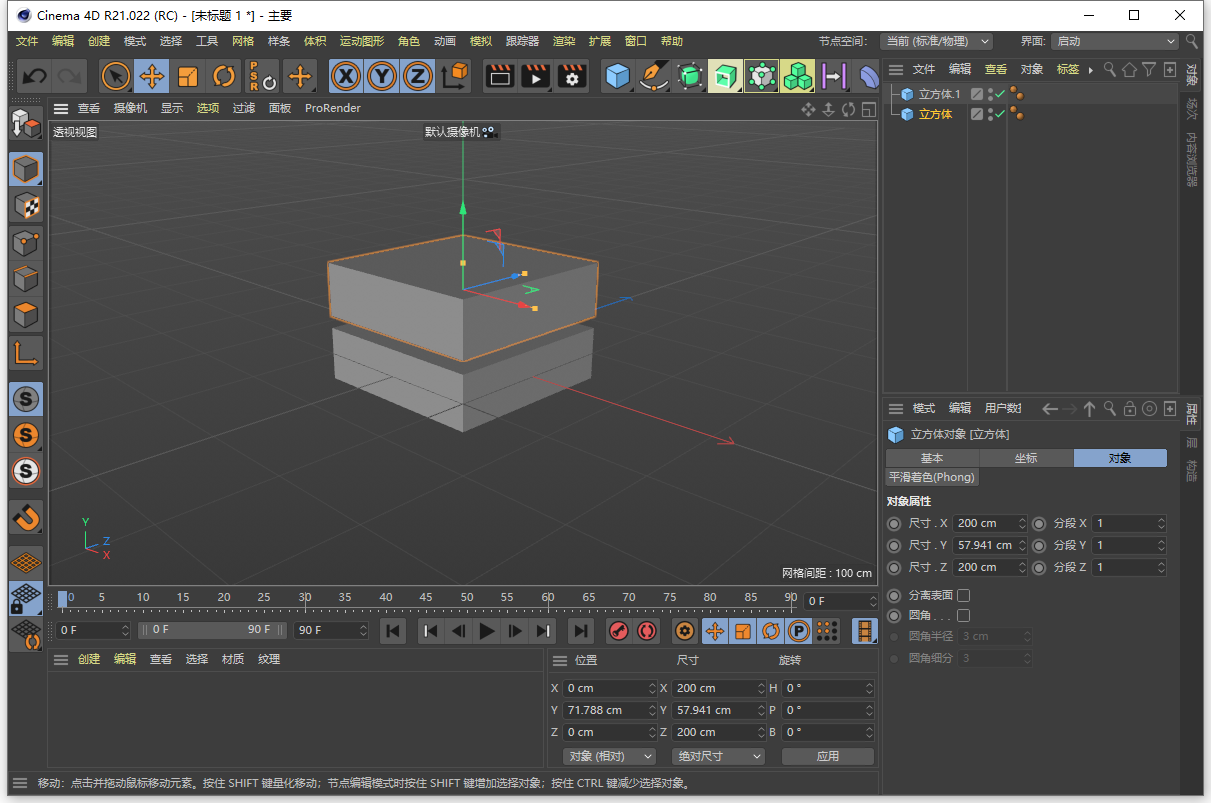
步骤1 打开C4D新建一个立方体。
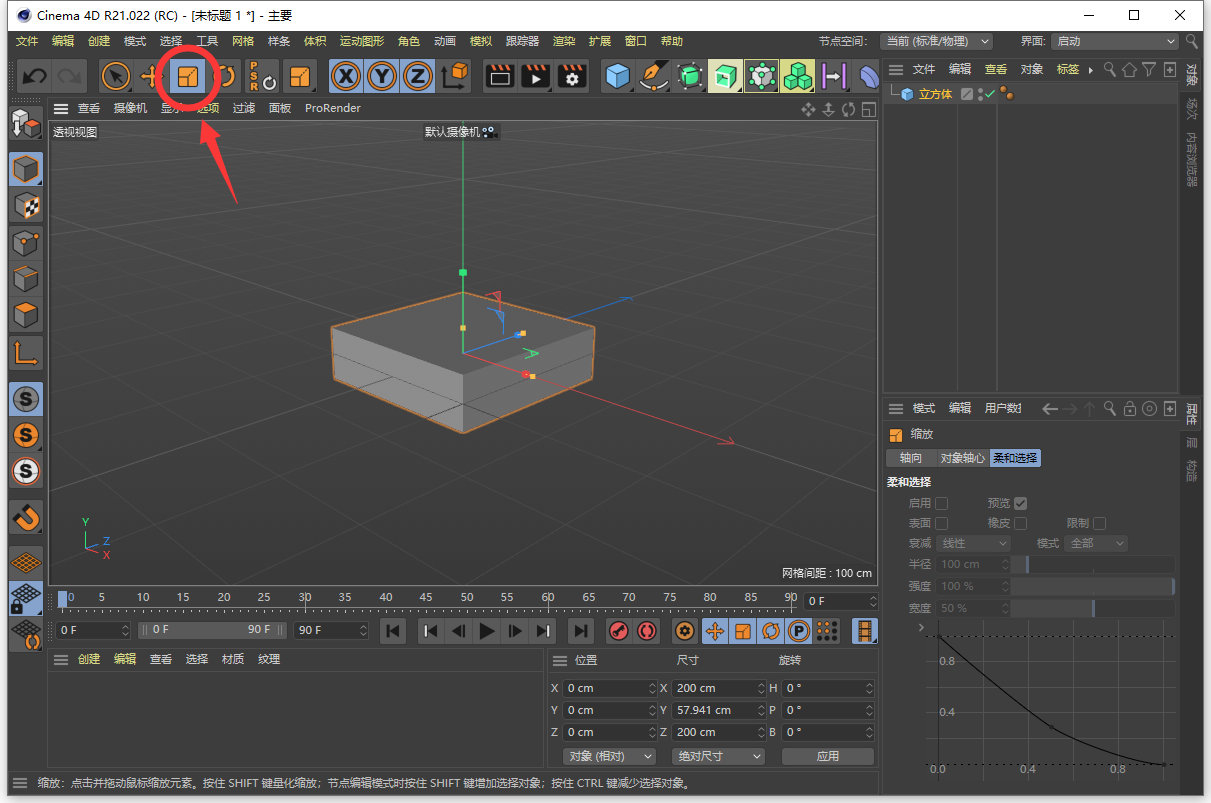
步骤2 使用缩放工具把立方体压扁一点(你也可以调整右下角属性面板,输入具体的值)
步骤3 Ctrl+C 复制一个,Ctrl+V粘贴。然后用移动工具把复制好的向上拖拽。这样你就得到了2个立方体。
步骤4 再次使用缩放工具,把顶上那个压扁一点儿。

步骤5 复制顶部那个立方体,并且向上拖拽。这样,你就完成了整个图标。
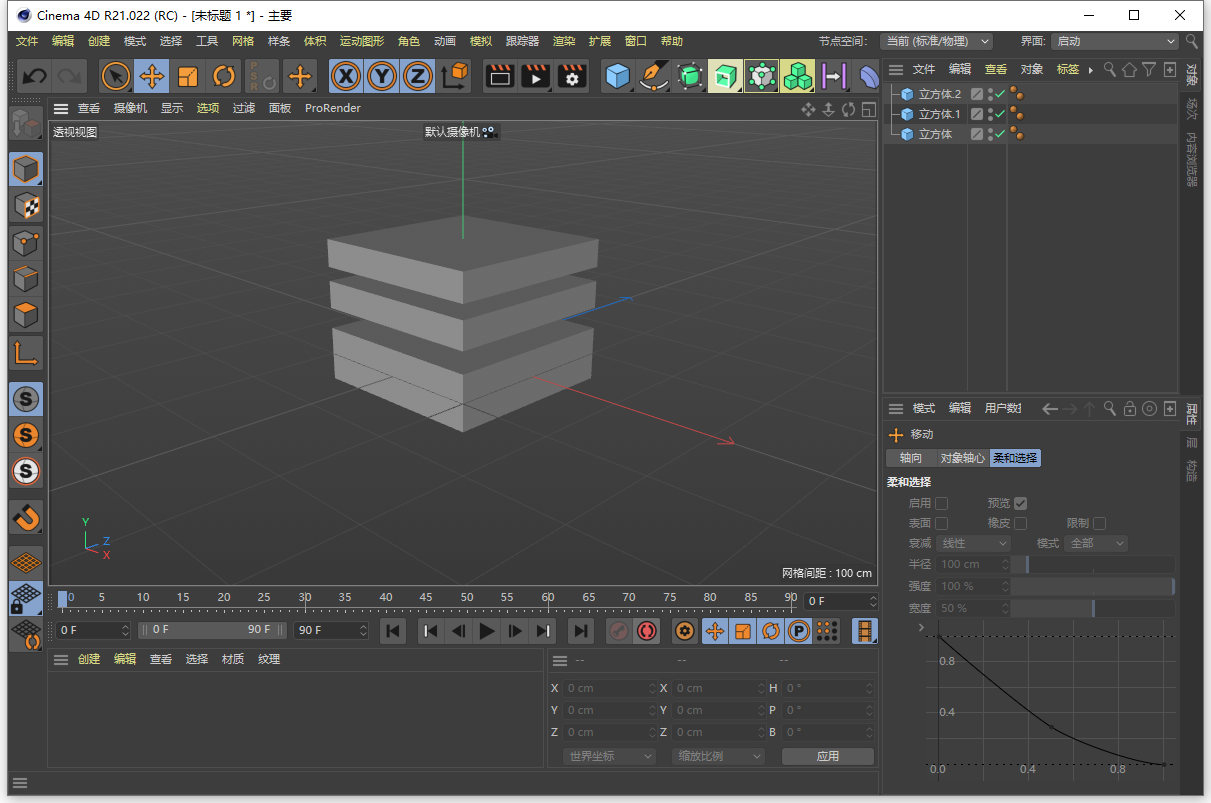
▲ 是的,就是这么简单。
步骤6 双击左下角红框处,这样可以添加1个材质。
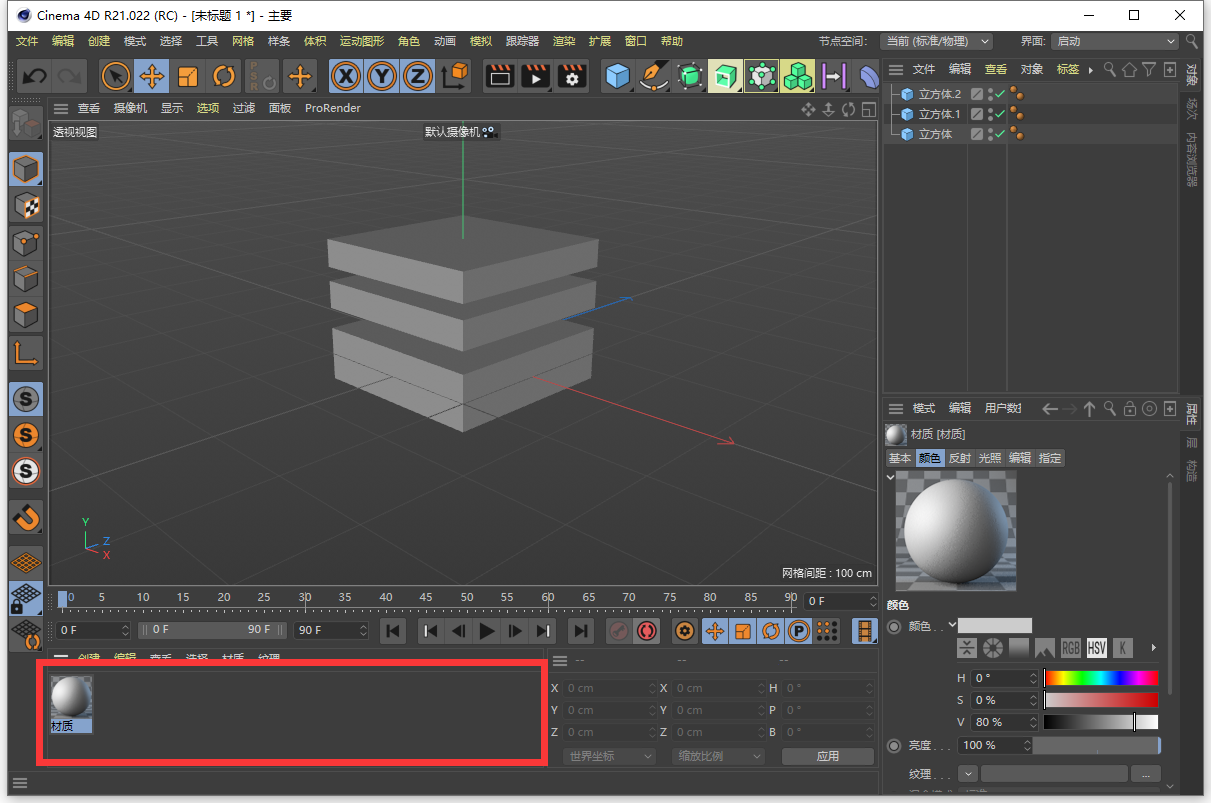
▲ 一共要双击3次,这样你就可以新建3个材质球了。
步骤7 选中你刚才新建的材质球,依次改成白色、橙色、黑色。
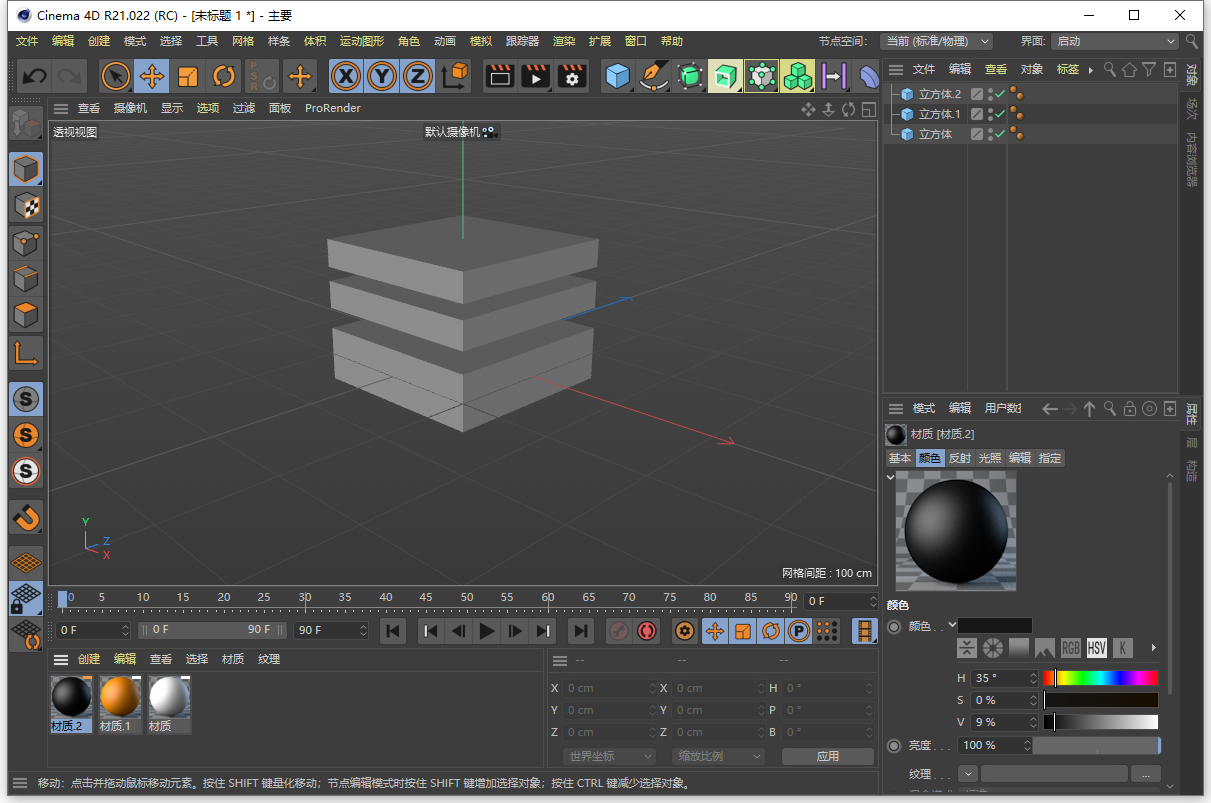
▲ 注意看左下角,现在有三个材质球了。
步骤8 把三个材质球拖拽到三个立方体上去。
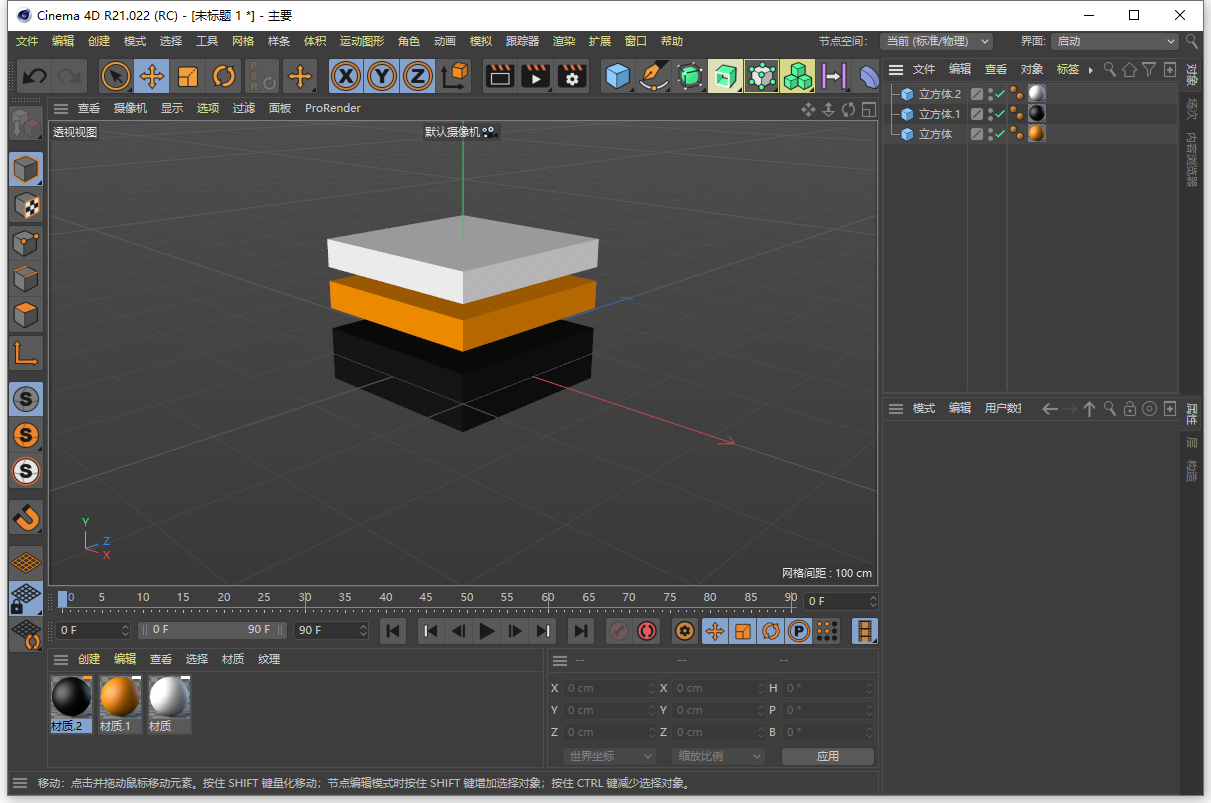
▲ 注意看右上角,每个立方体都有一个材质球了。这样,我们带材质的图标就做好了。
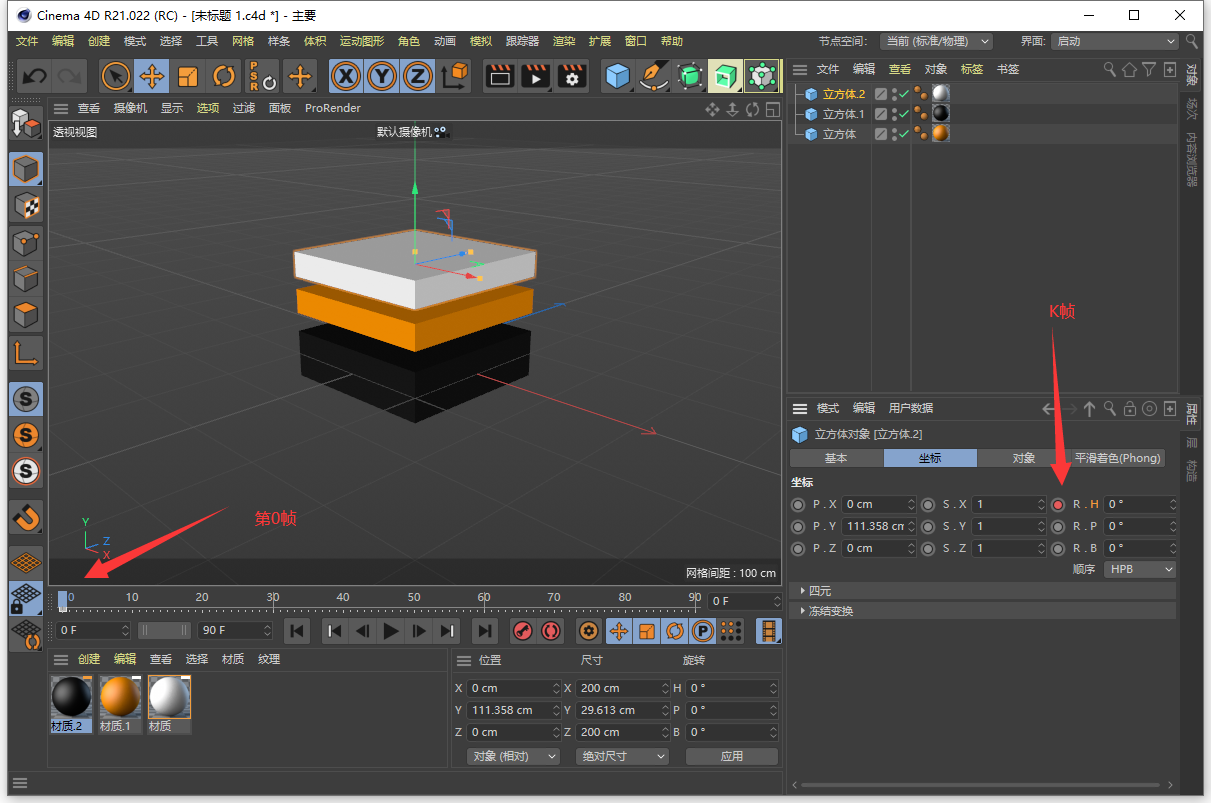
步骤9 选中顶部白色的立方体。在第0帧对着右下角的坐标的H属性K一个关键帧。
步骤10 在第16帧的位置,对H属性再K一个关键帧,属性改成180°
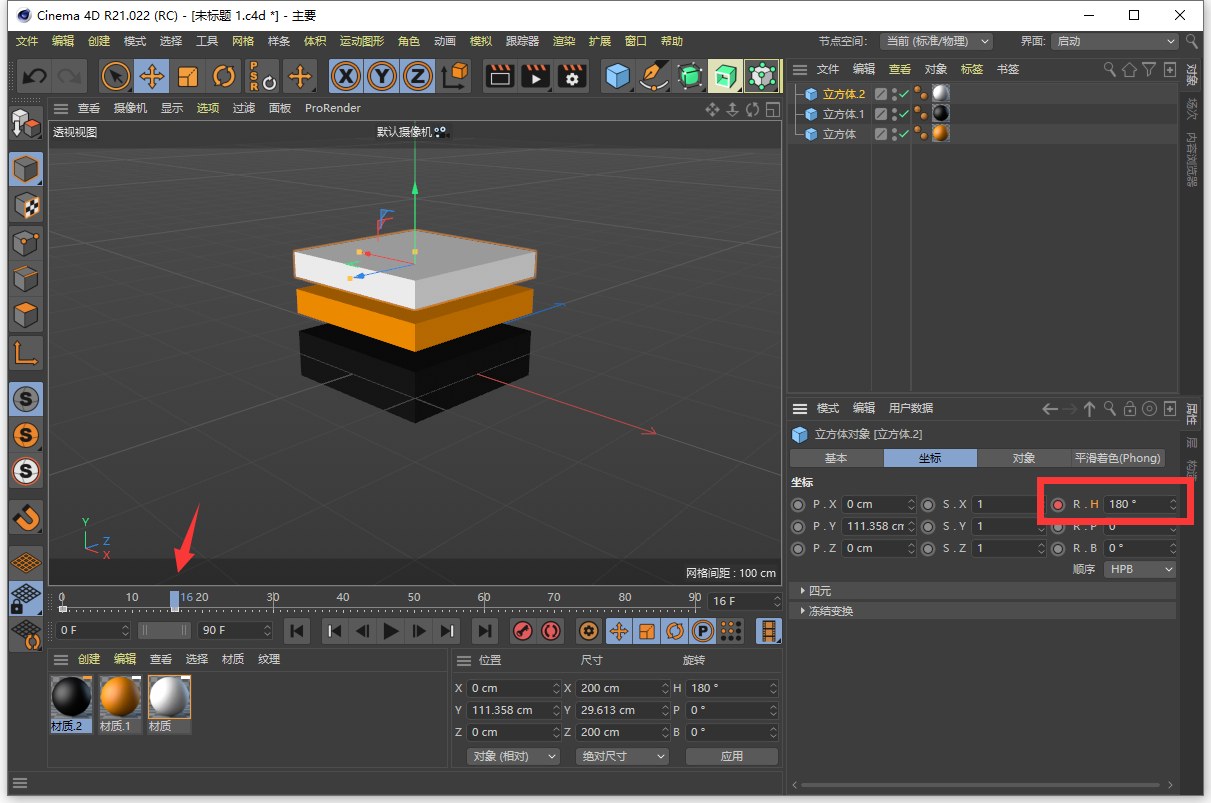
这样,你就完成了顶部的旋转动画。效果如下图:
用同样的方法,对橙色的立方体K帧。整个动画就做好了。但是这次我们让橙色的立方体反着转动(第16帧H属性改成-180°)这样,整个动效全部做好了。
步骤11 点击渲染 > 编辑渲染设置。然后选择输入的格式是PNG,并且一定要勾选Alpha通道。这样导出的PNG才是透明背景的。 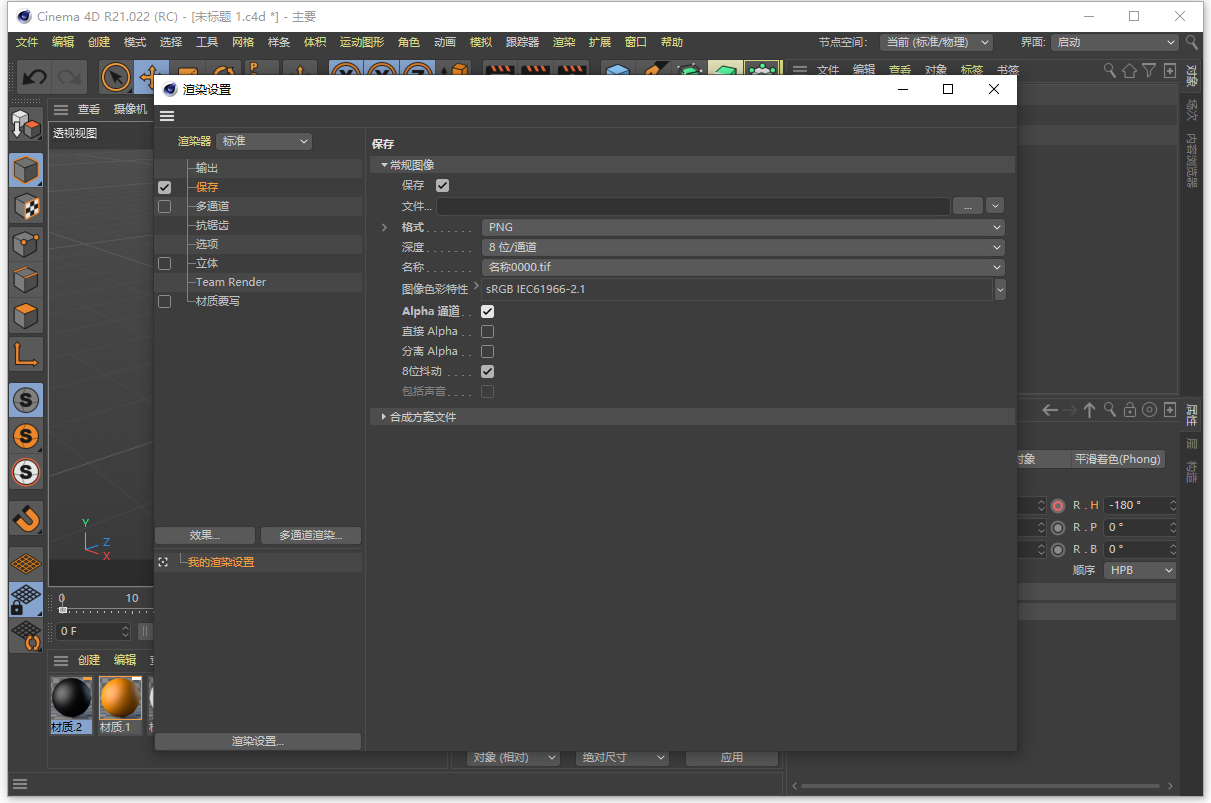
步骤12 将要输出的帧改成“手动”,起始帧为0,结束帧为16。
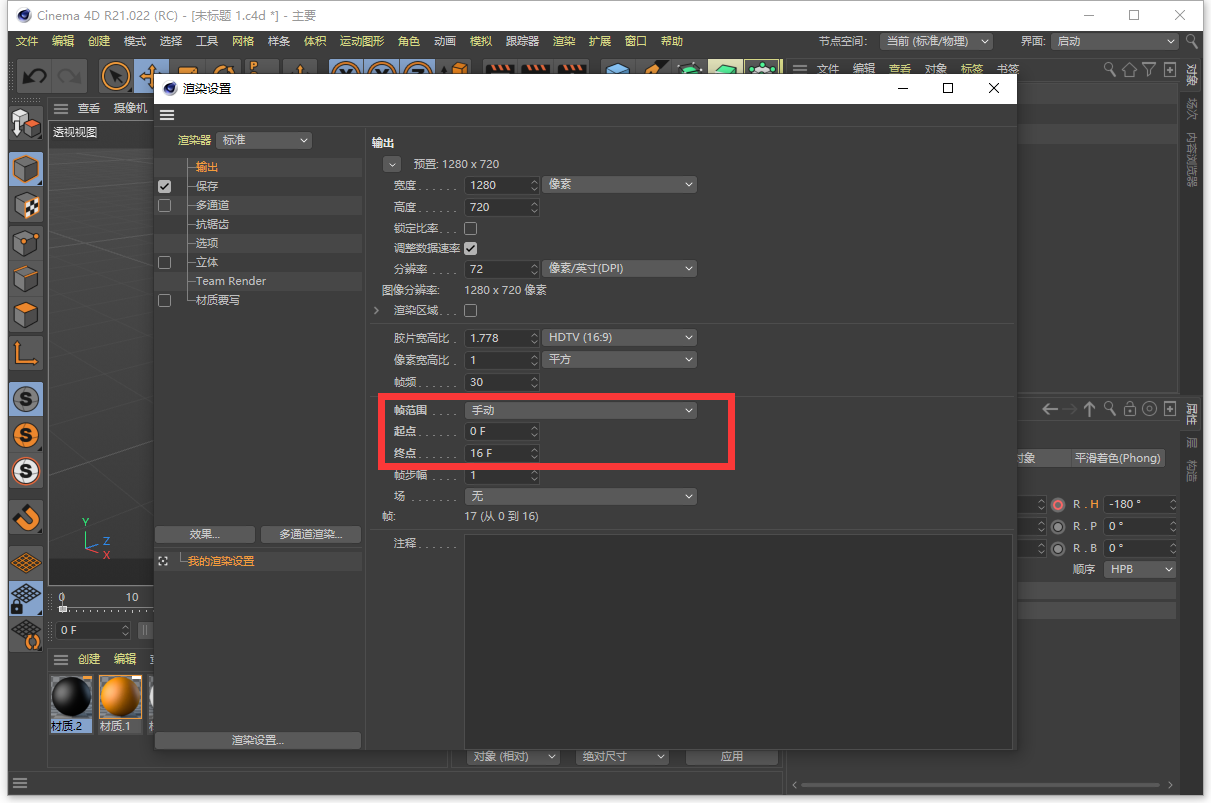
▲ 因为我们这个动画做了16帧。
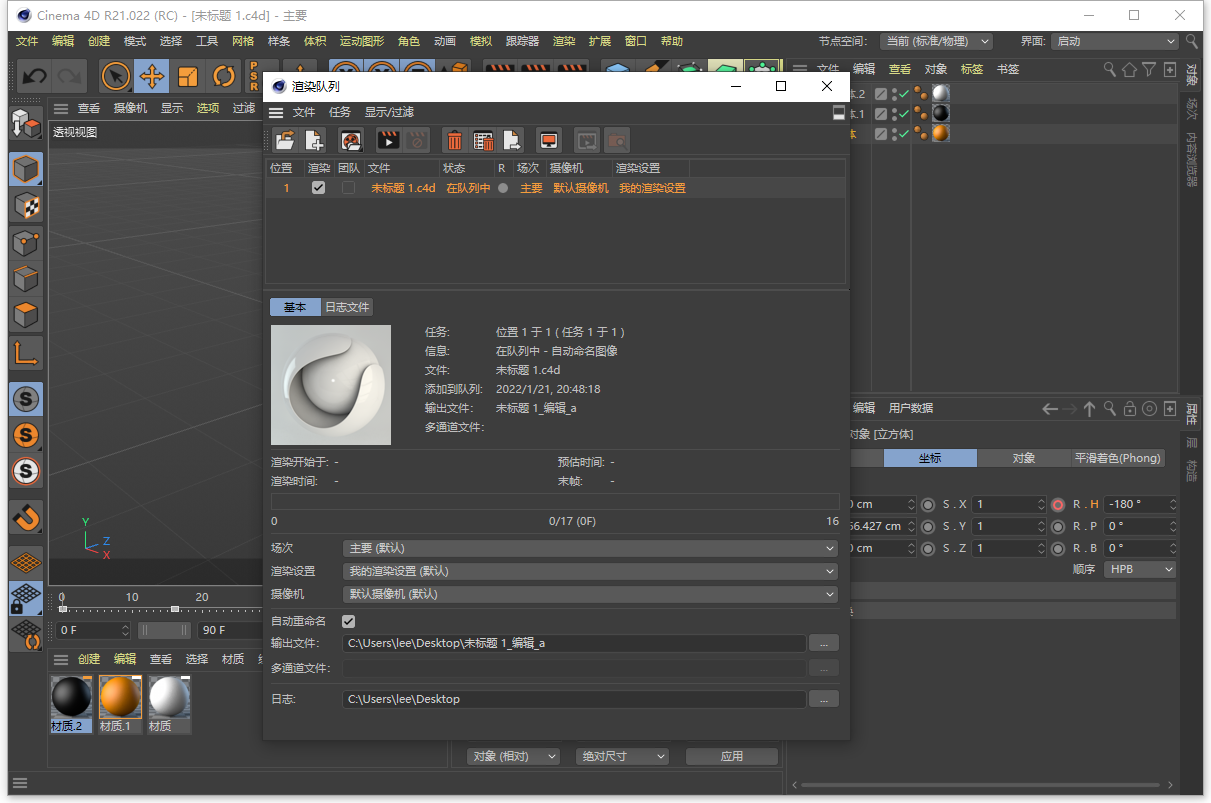
步骤13 点击渲染 > 添加到渲染队列。
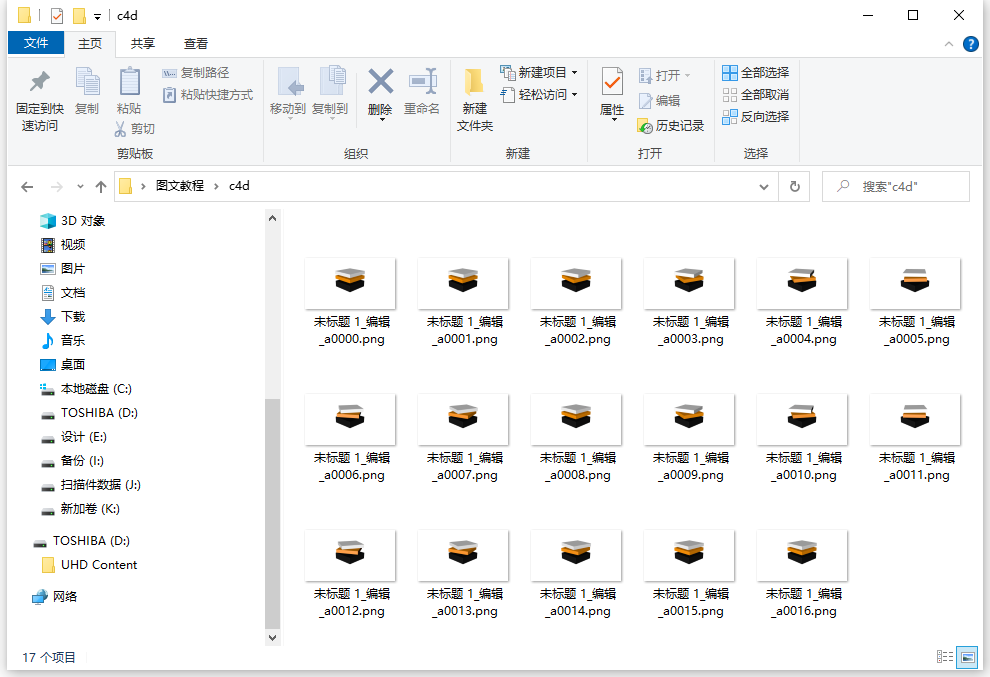
步骤14 点击渲染按钮。这样,0-16帧,一共17张图片就都渲染好了。
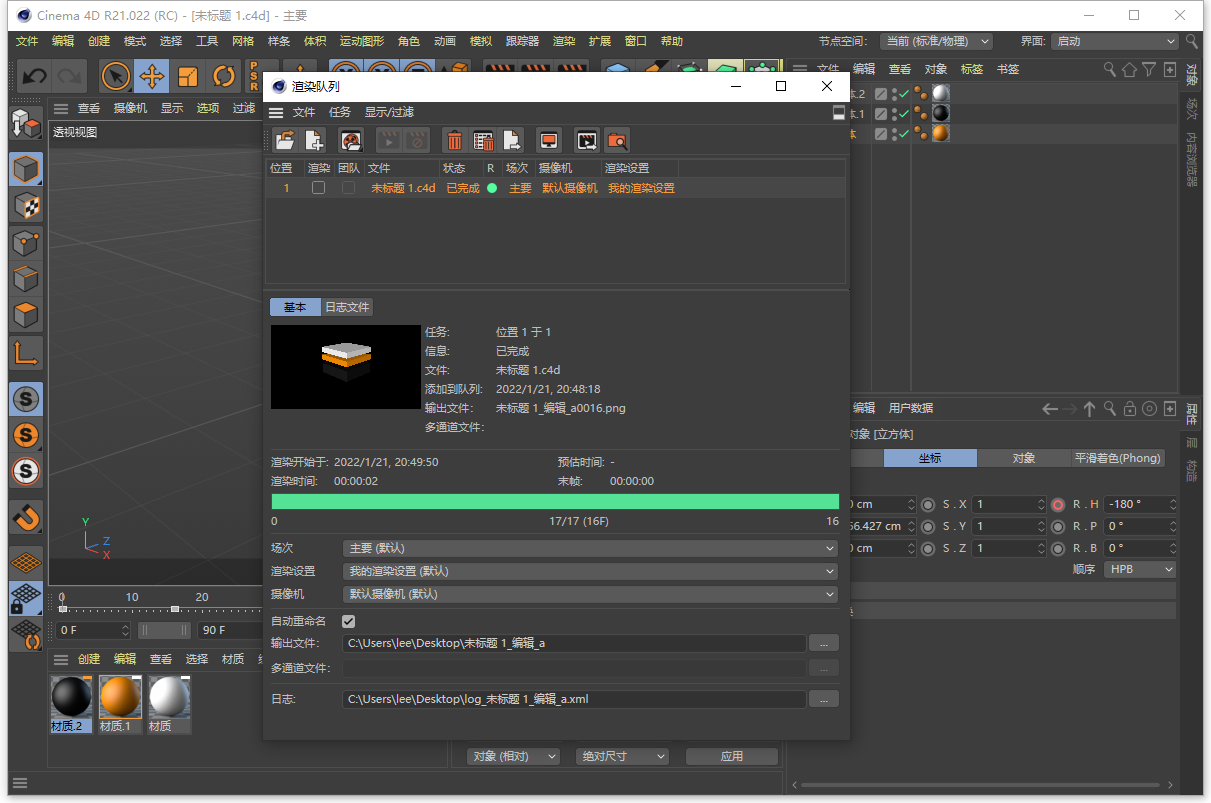
▲ 中间会有一个青色的进度条。根据你电脑的配置,决定渲染的速度。
这就是渲染好的17张图片了,他们都是透明背景的PNG图片,非常的完美。我们在教程3里面会对它们做一些拼接,用来交付给程序员。
教程2 使用Adobe Xd制作一个日历分层的小动效
最终效果
制作这个教程的起源是有同学在微信群问下图有没有什么快速制作的方法。于是我想到了Adobe Xd的3d变换功能。顺手将他做成了动画。
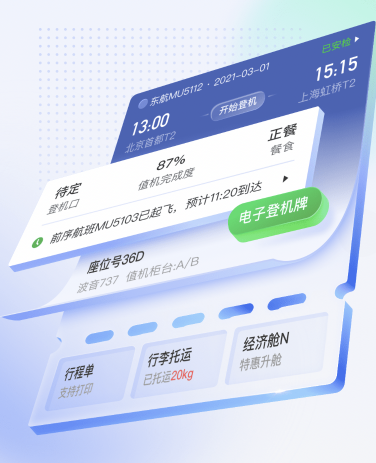
▲ 这个图片来自微信群群友的截图,不知道是哪个大神做的。这里只是用来做免费的教程,不做任何商用,如果不慎侵犯了你的权益,或者你不开心我用了你的图片,可以私信我删除。
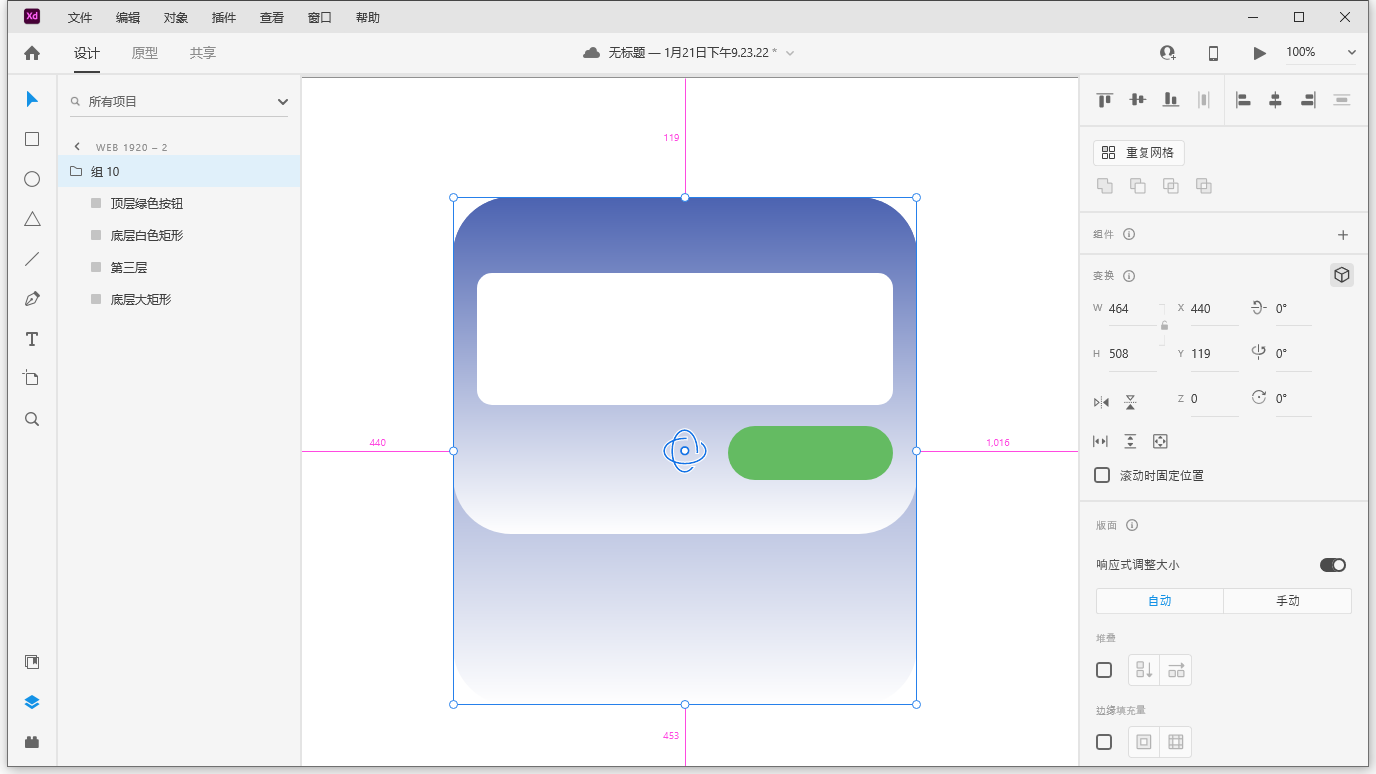
步骤1 在Adobe Xd里面绘制日历的正面视图,我这里简化它,只画4个圆角矩形。并且弄到一个组里面。
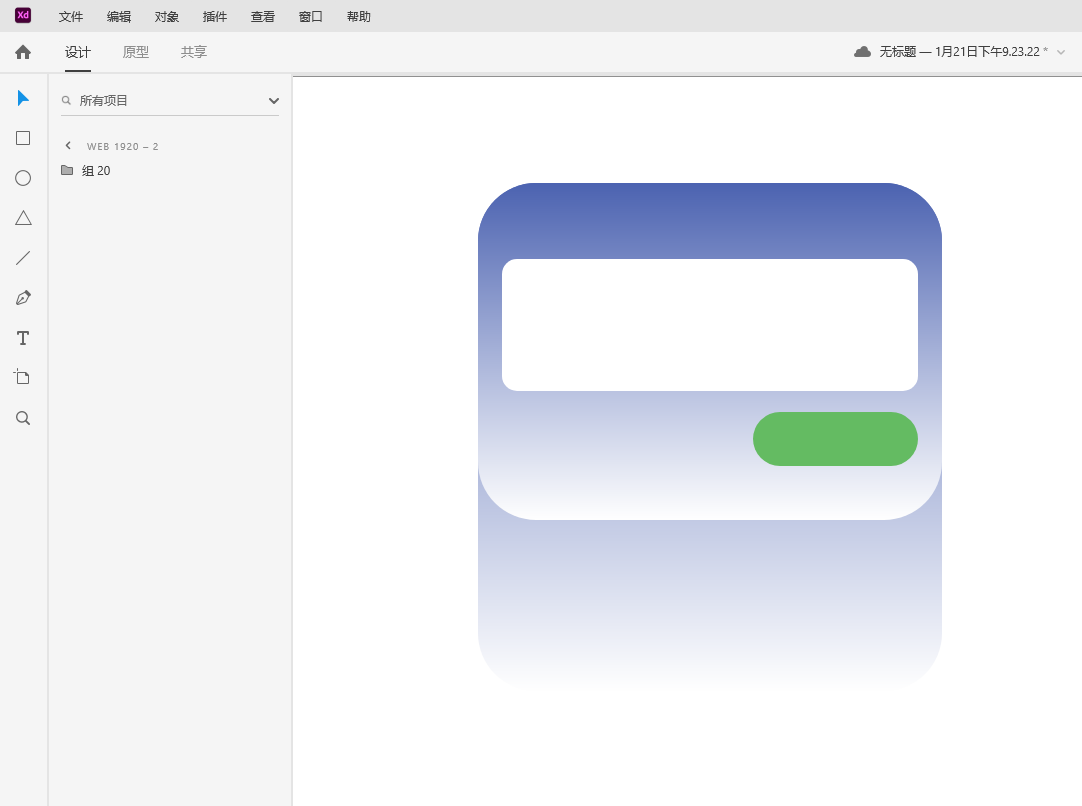
步骤2 选中这个组,点击右侧的3D转换按钮。
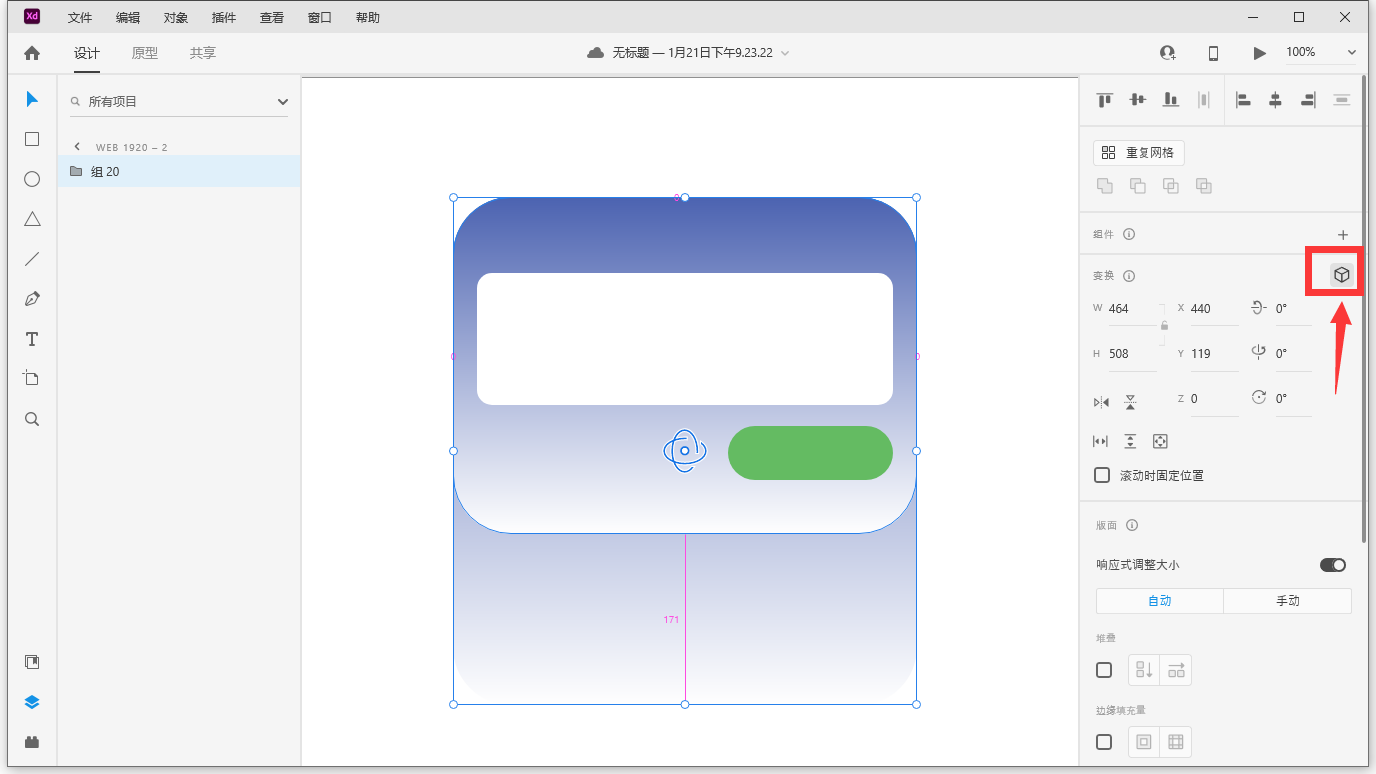
通过拖拽,将日历图标弄成带有透视感觉的。
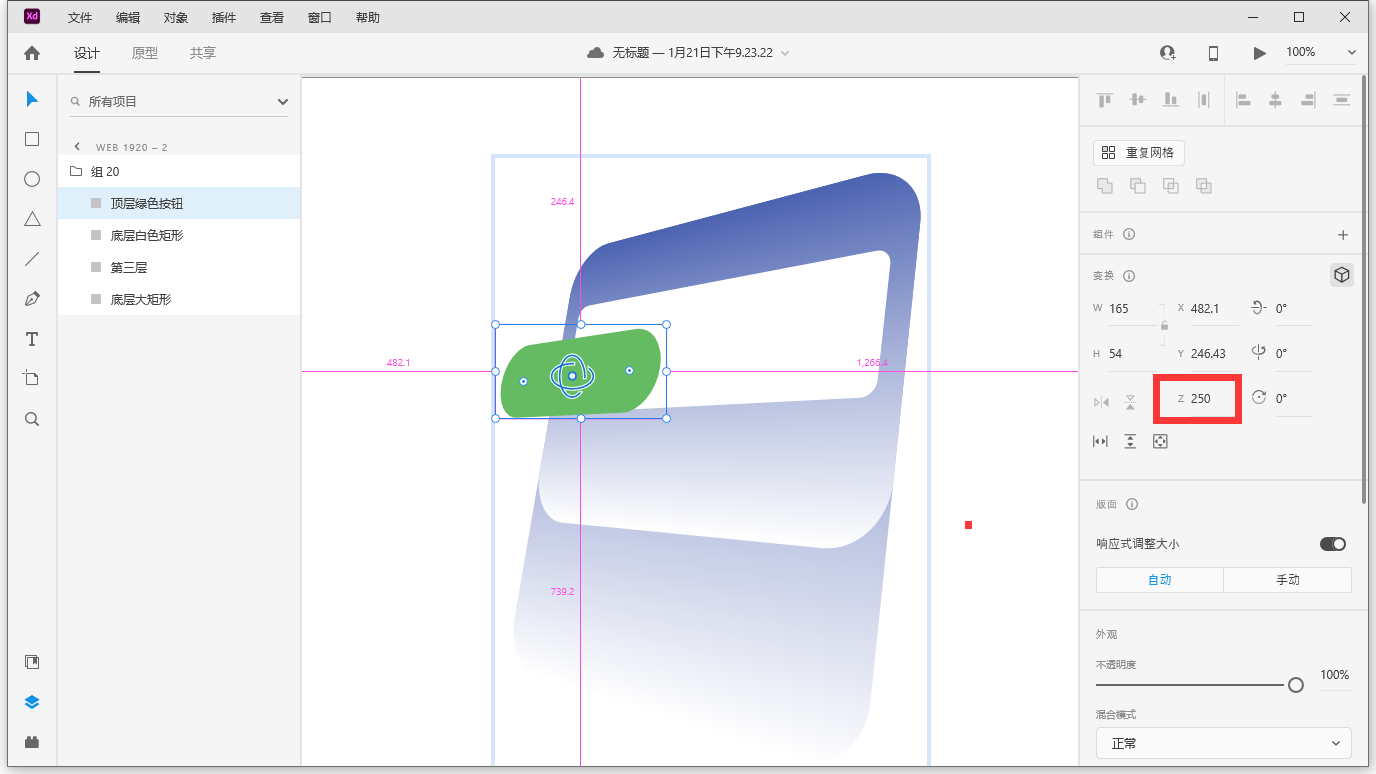
步骤3 选中绿色按钮图层,把他的z轴调整成250。这样,这个按钮就悬浮起来了。
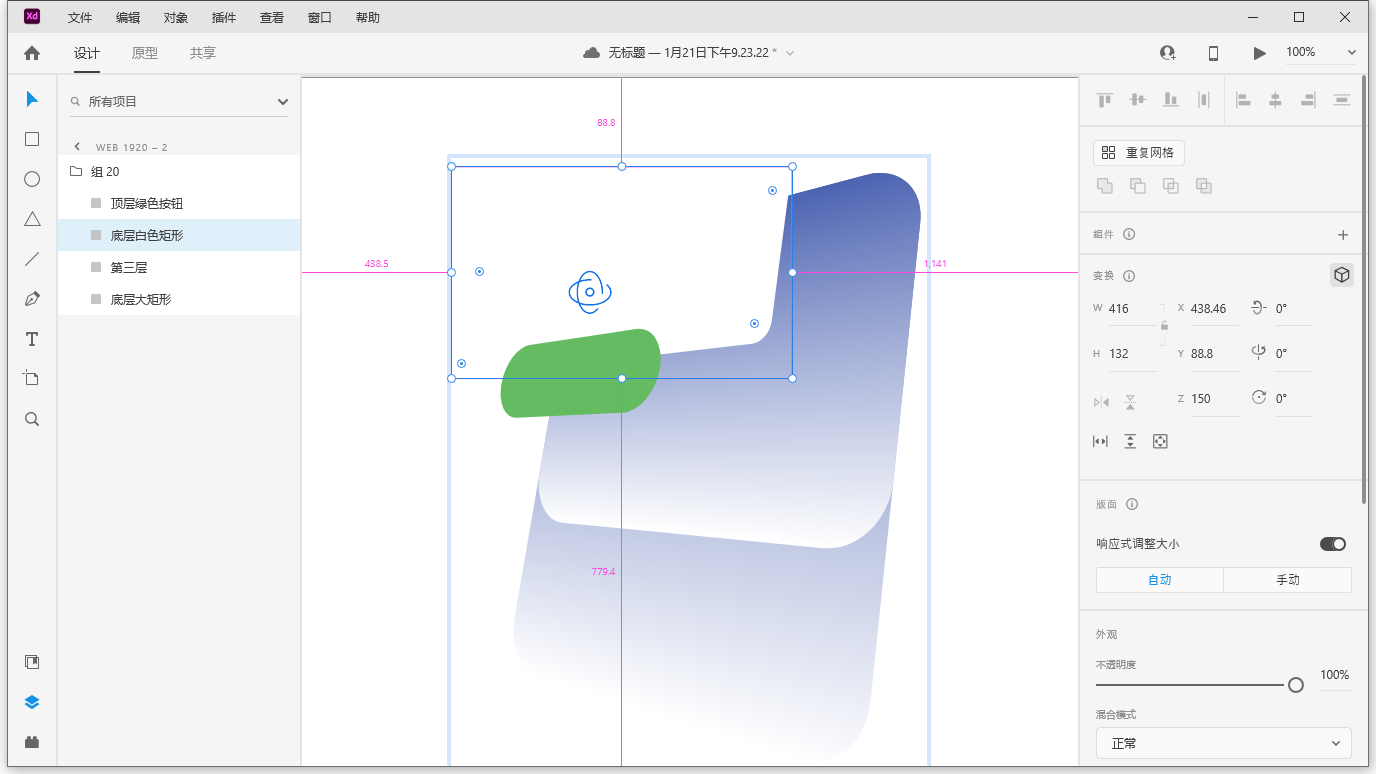
步骤4 选中白色矩形,调整它的z轴为150。这样,白色矩形也悬浮起来了。
步骤5 选择倒数第二个图层,调整它的z轴为80。
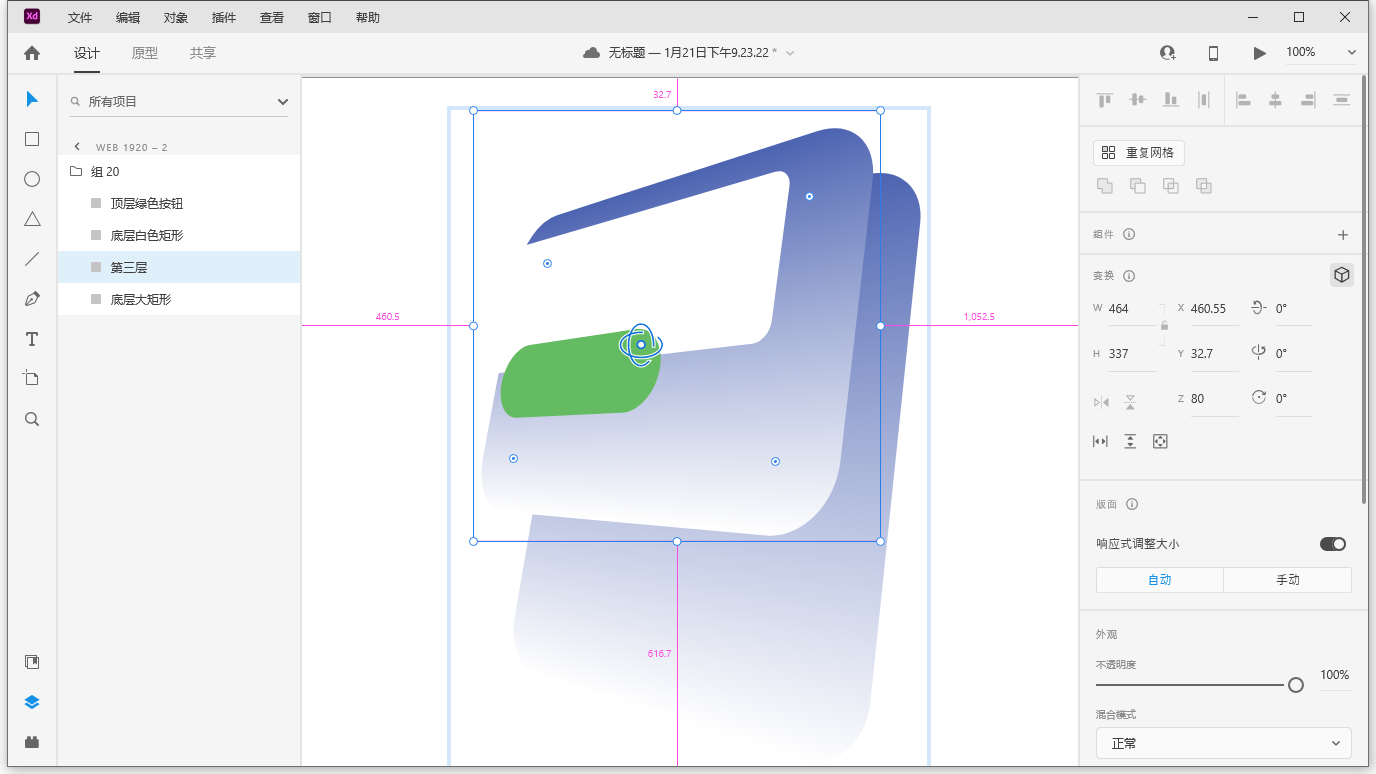
这样,这个动效的最终效果我们就做好了。接下来,我们只要导出多张图片即可完成所有的工作了。
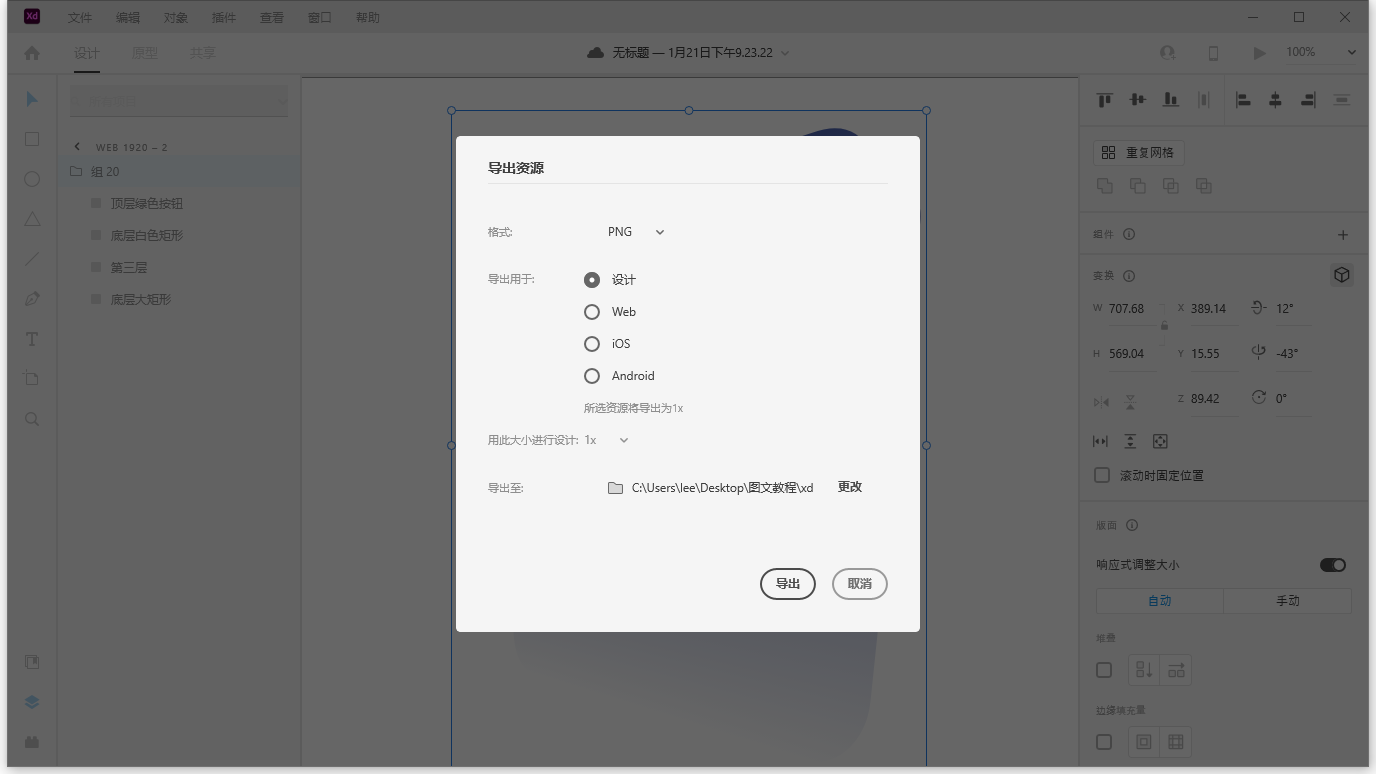
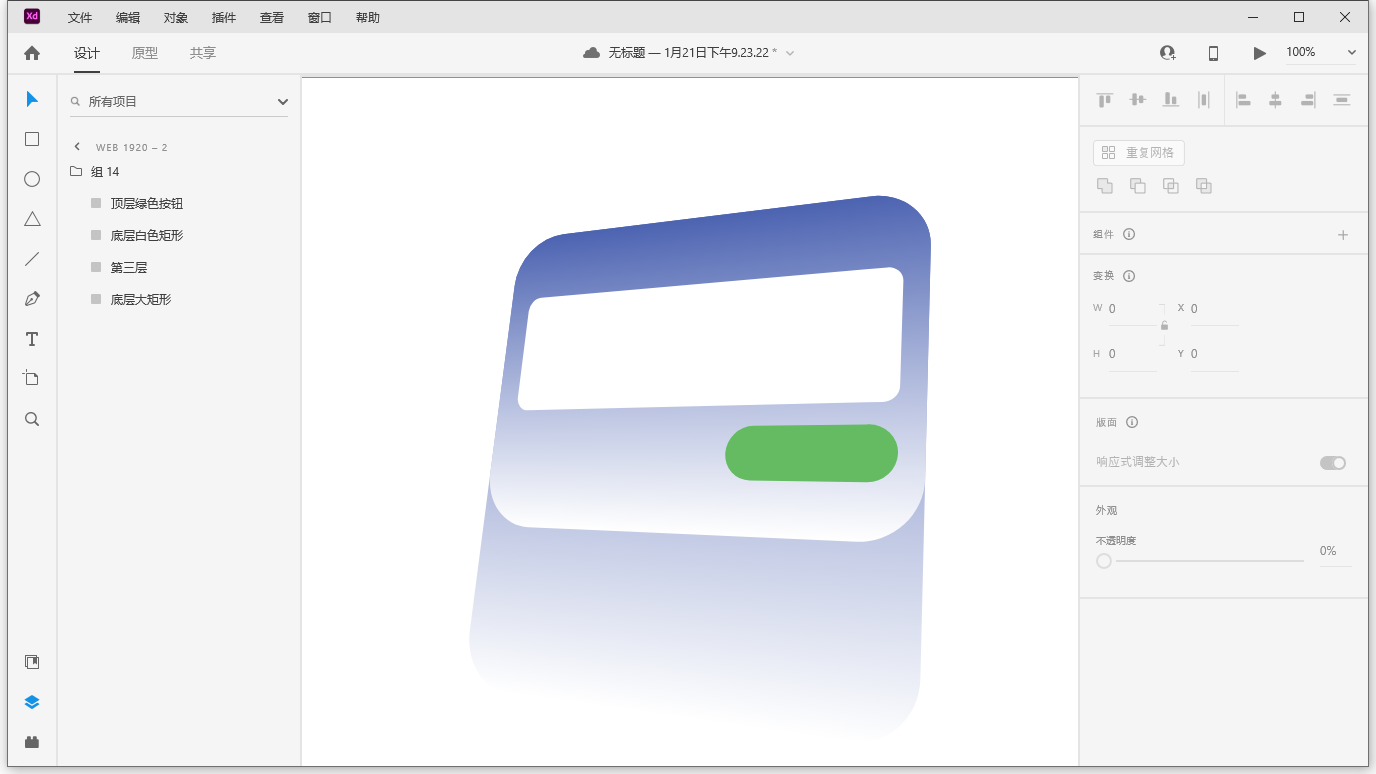
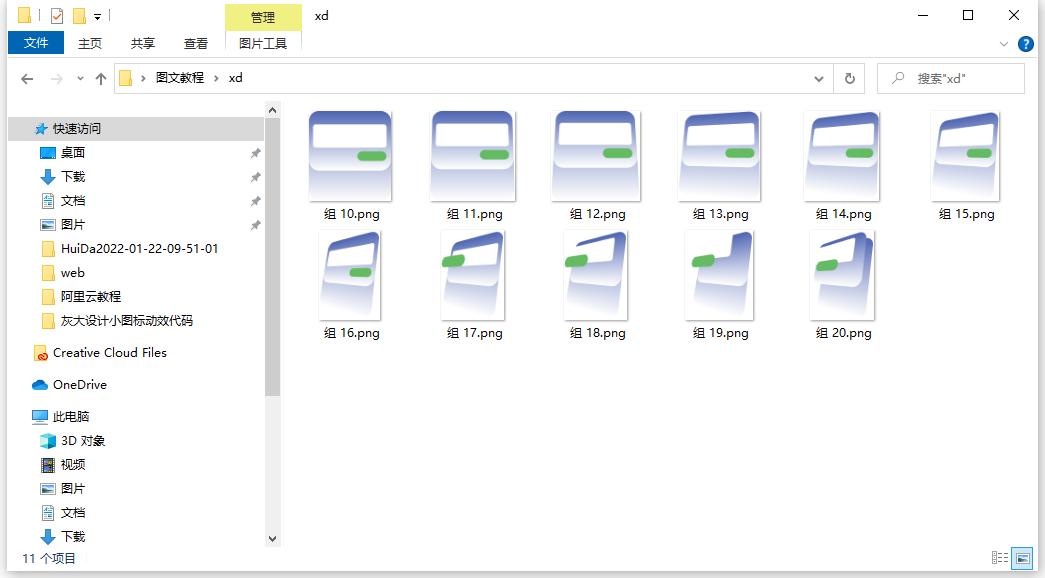
步骤6 选中这个组,把组名字改成“组20”,Ctrl+E 导出PNG图片。这就是我们的第20帧的图片。准确的说是我们最后一帧的图片,因为可能不会有20帧那么多。
步骤7 把我们的第三层那个矩形的z轴改成0(原本它是80),然后把组的名称改成“组19”。再次选择组后Ctrl+E导出第19帧的图片。
步骤8 把白色矩形的z轴改成75(原本它是150)然后把组名称改成“组18”。再次选择组后Ctrl+E导出第18帧的图片。 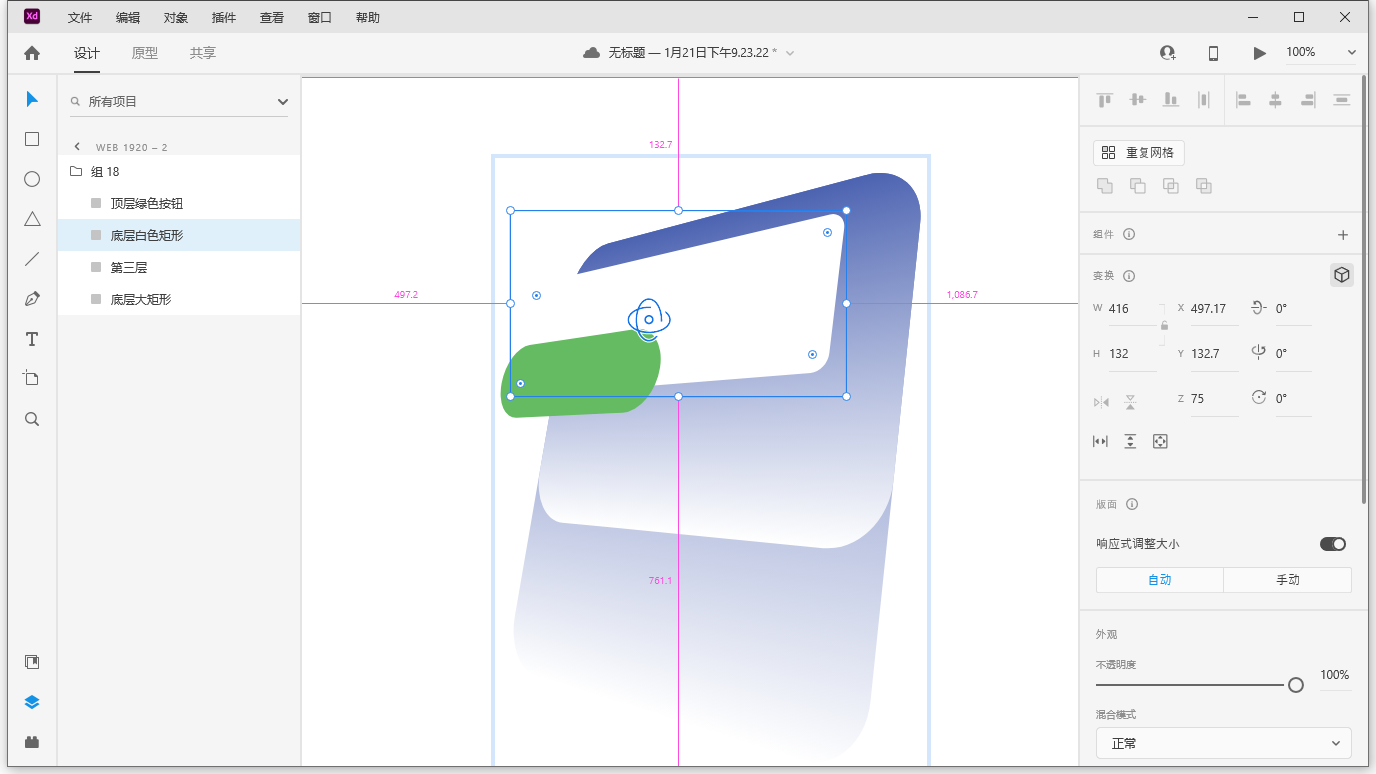
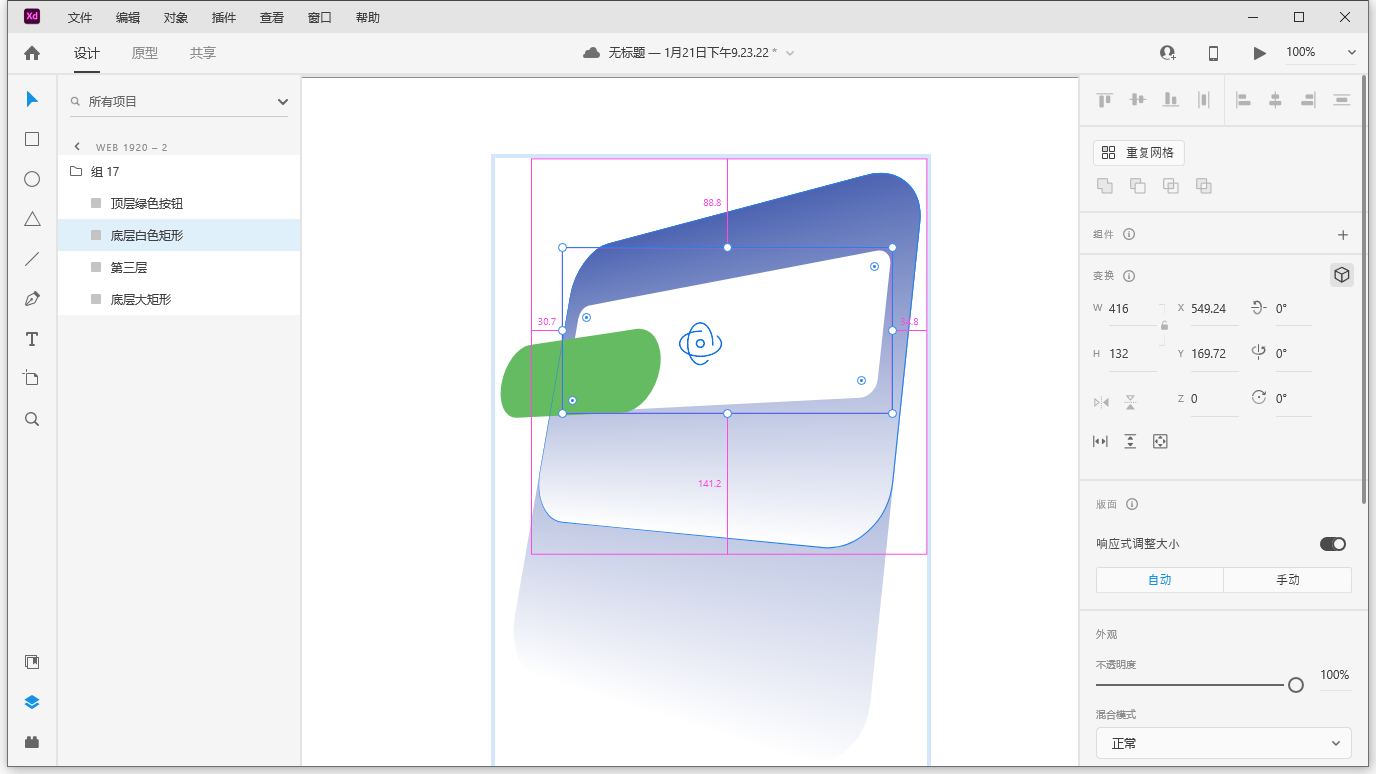
步骤9 把白色矩形的z轴改成0(原本它是75)然后把组名称改成“组17”。再次选择组后Ctrl+E导出第17帧的图片。
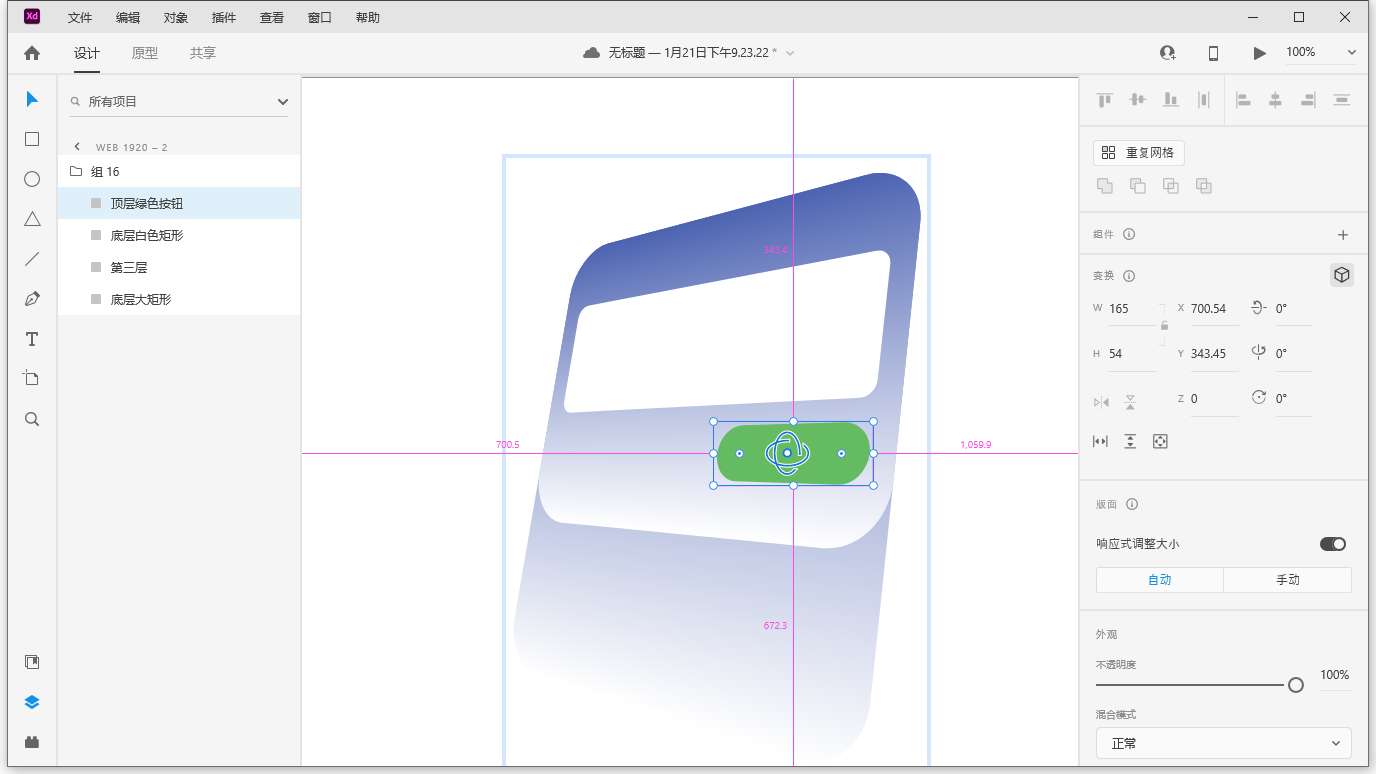
步骤10 选中绿色按钮图层,把z轴直接改成0,然后把组名称改成“组16”。再次选择组后Ctrl+E导出第16帧的图片。
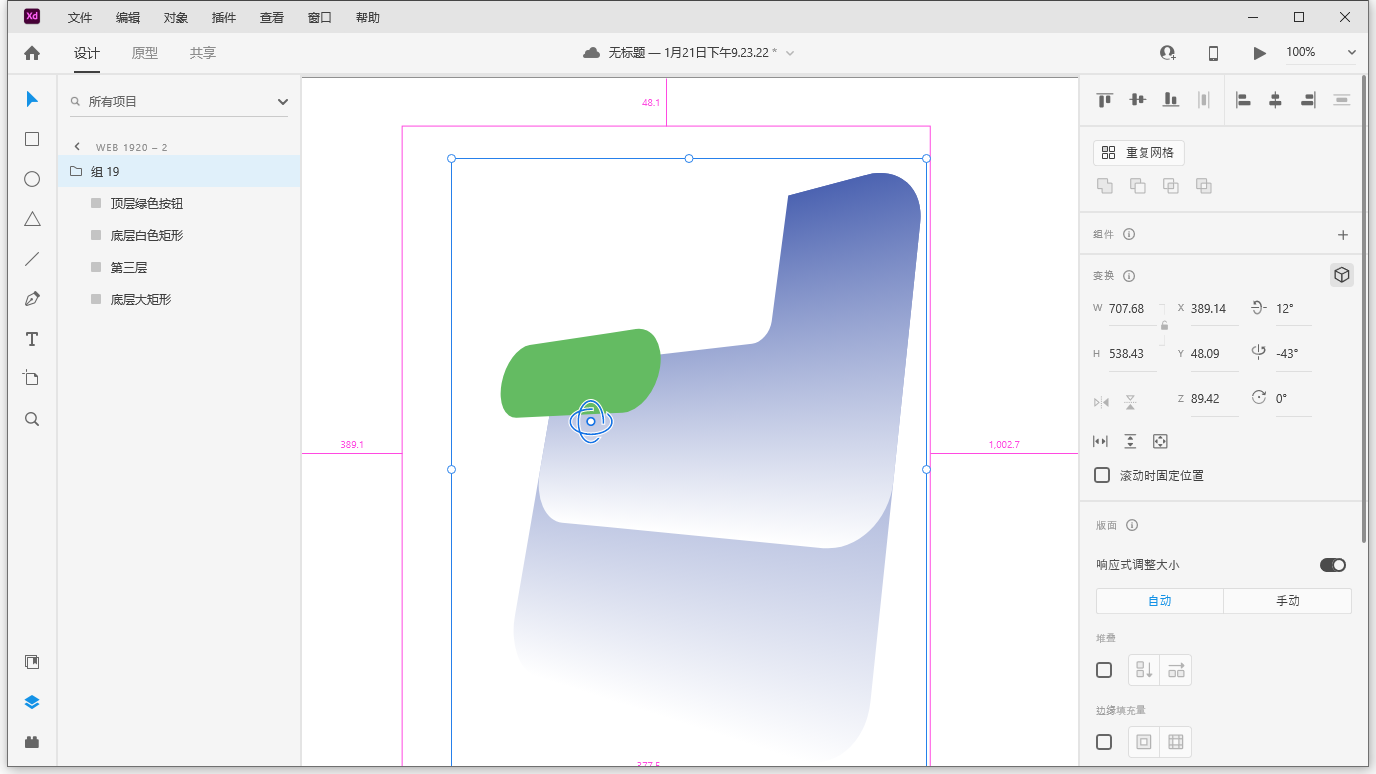
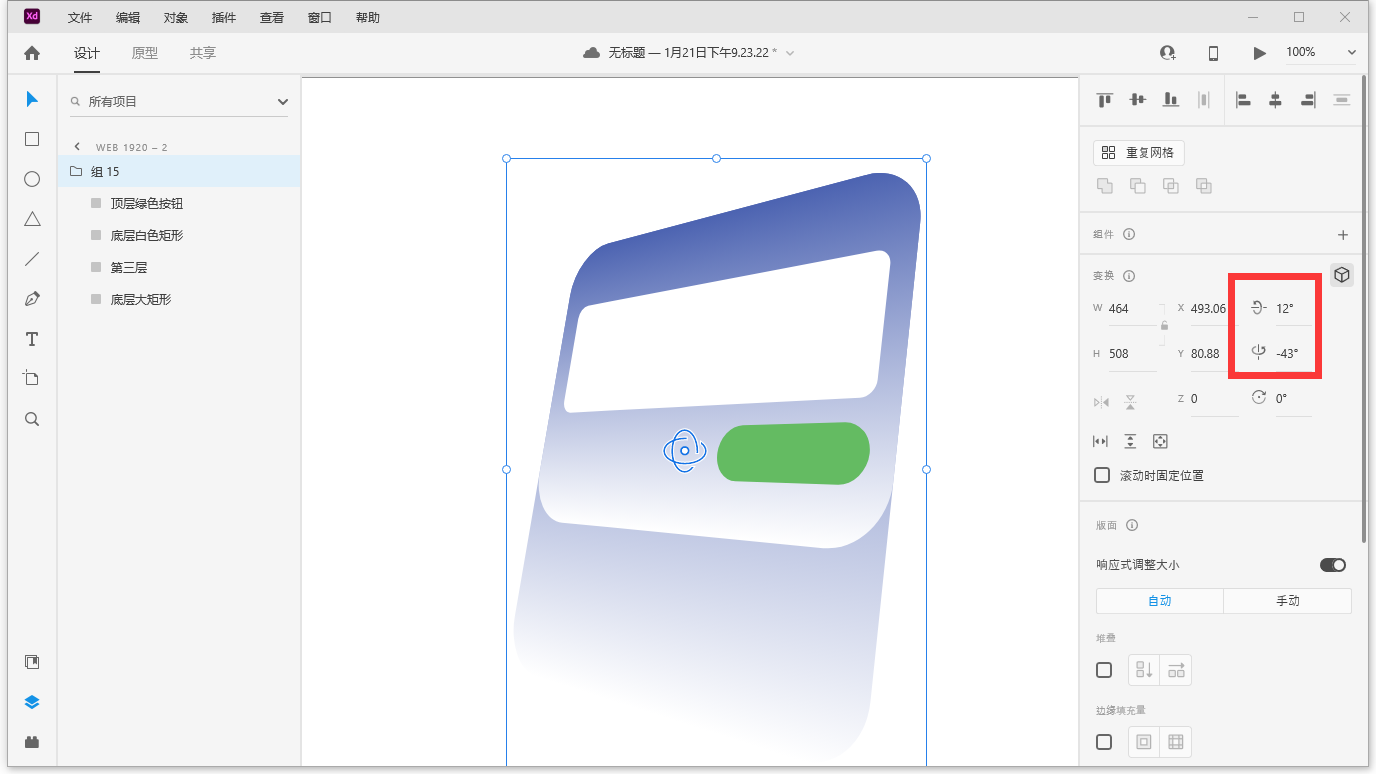
到目前为止,Z轴一共有5张图片了。这就是Z轴升起来的所有动画了。接下来,我们再次制作旋转角度的动画图片。选中整个组后,你会发现三维变换的地方x轴旋转被我们手动调整到了12°,y轴旋转被我们调整到了-43°
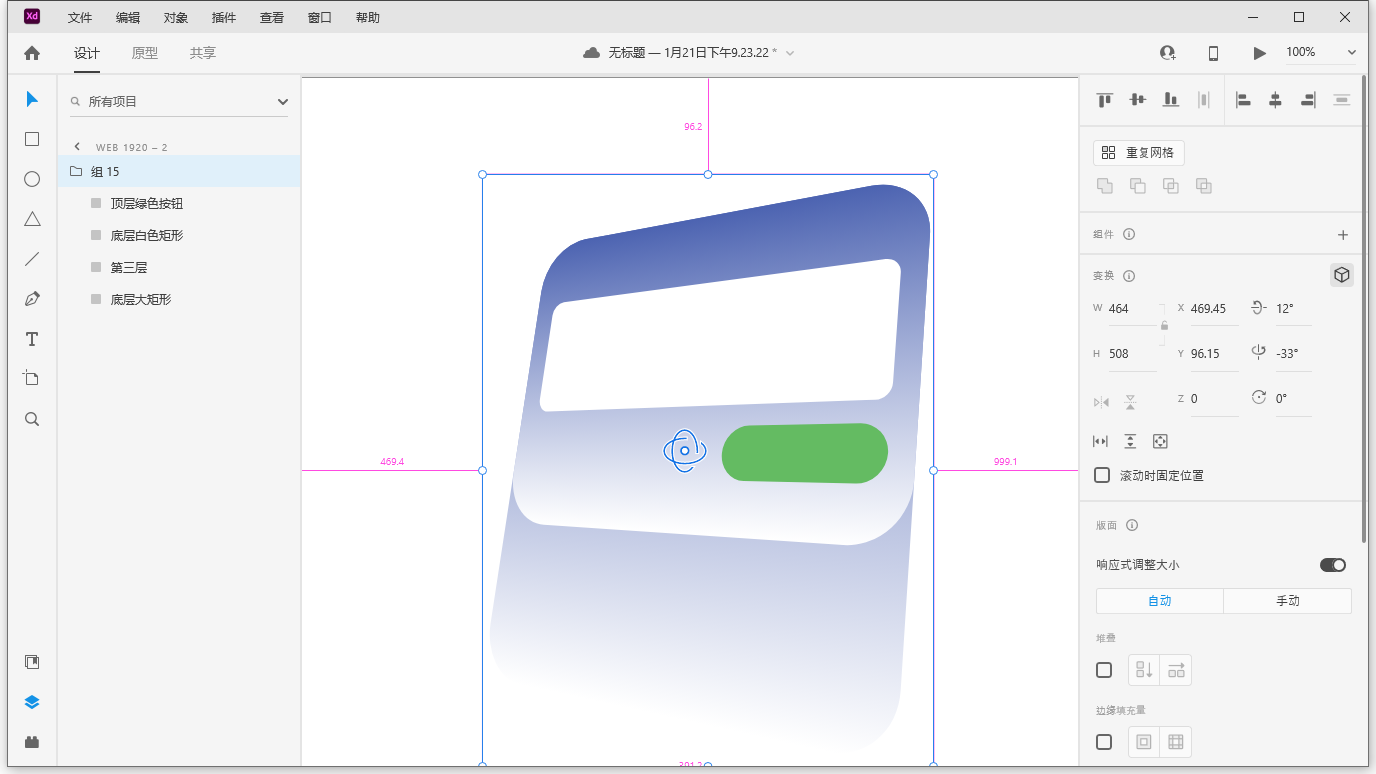
步骤11 把y轴旋转改成-33°,然后把组名称改成“组15”。再次选择组后Ctrl+E导出第15帧的图片。
步骤12 把y轴旋转改成-23°,然后把组名称改成“组14”。再次选择组后Ctrl+E导出第14帧的图片。
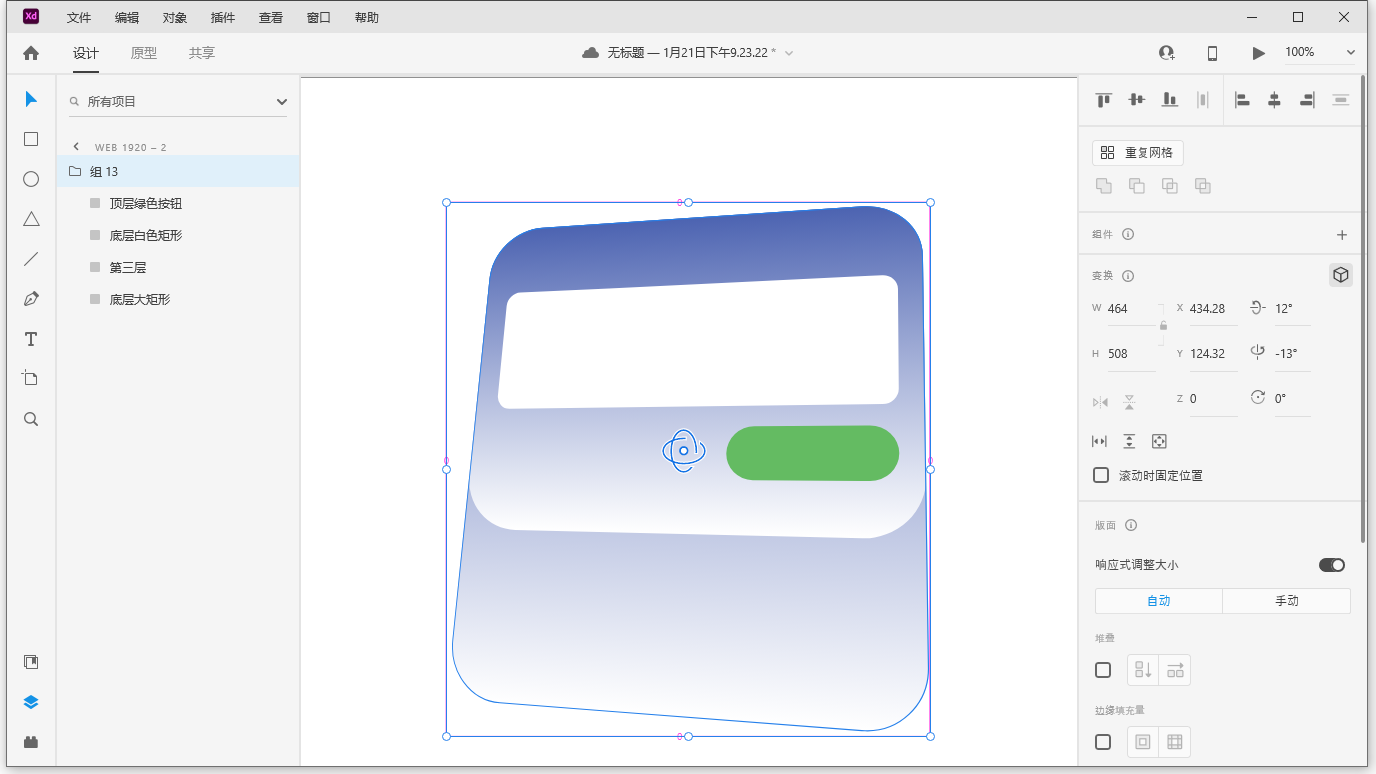
步骤13 把y轴旋转改成-13°,然后把组名称改成“组13”。再次选择组后Ctrl+E导出第13帧的图片。
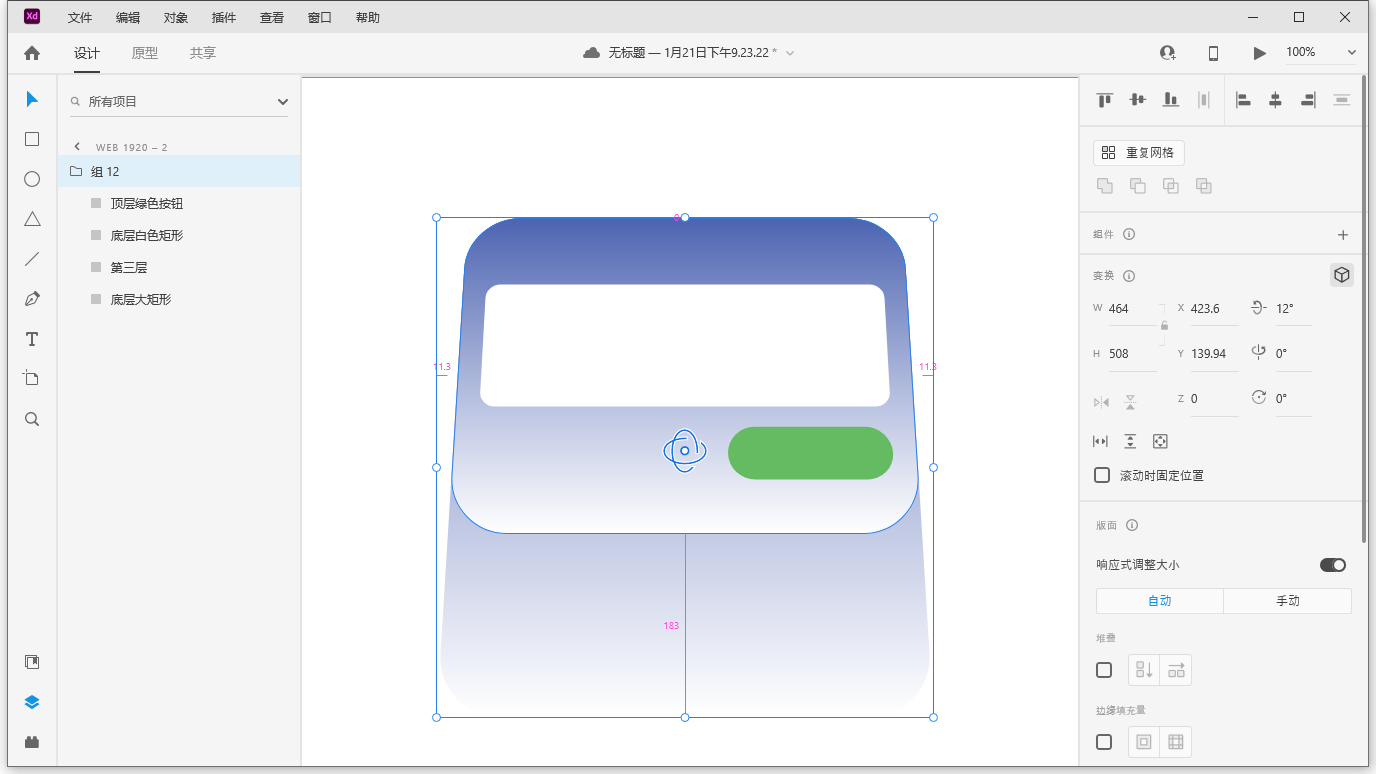
步骤14 把y轴旋转改成-0°,然后把组名称改成“组12”。再次选择组后Ctrl+E导出第12帧的图片。
y轴旋转的动画我们都弄好了,接下来我们弄x轴旋转的动画,做法基本一样。
步骤15 把x轴旋转改成6°,然后把组名称改成“组11”。再次选择组后Ctrl+E导出第11帧的图片。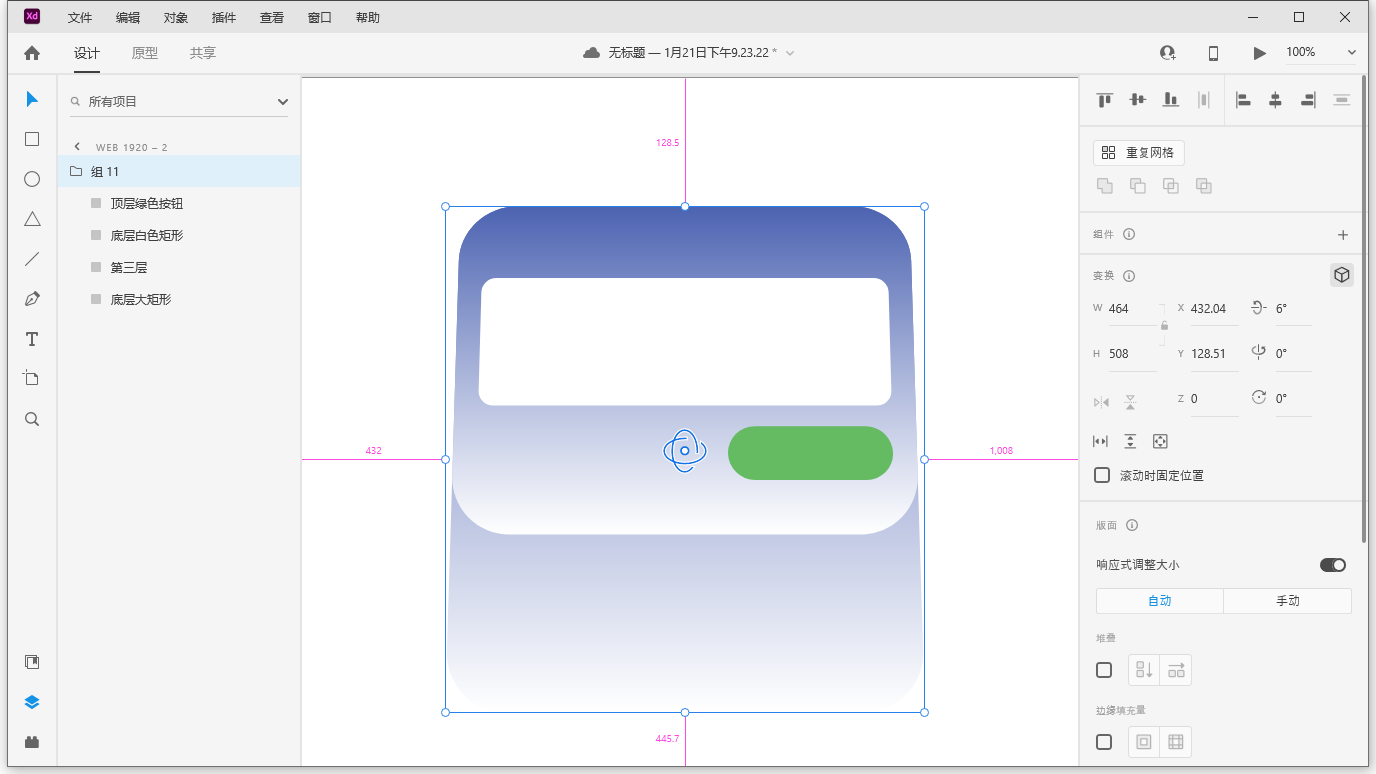
步骤16 把x轴旋转改成0°,然后把组名称改成“组10”。再次选择组后Ctrl+E导出第10帧的图片。
这样,我们整个日历就正过来了。所有的动画需要的帧图片都已经拿到了。查看一下刚才存的那一堆图片,从组10-组20其实只有11张图片。也就是说,实际上我们只有11帧而已。
哈哈,也许你怎么也想不到,我们这个效果的制作过程如此的简单粗暴吧。在搞创作的过程里面,我们一定要大胆的想,勇敢的去试。兄弟们记好了:只要胆子大,女鬼咱也能让她放产假!
Xd的动效教程到这里就结束了,我们将在教程3里面会对它们做一些拼接,用来交付给程序员。
教程3 通过代码实现鼠标移入、移出的动画效果。
接下来,我们就将之前做好的两个动效拼接成要交付的长图片。你需要把图片中多余的空白裁掉,然后拼接在一张竖着的长图。具体请看下图:
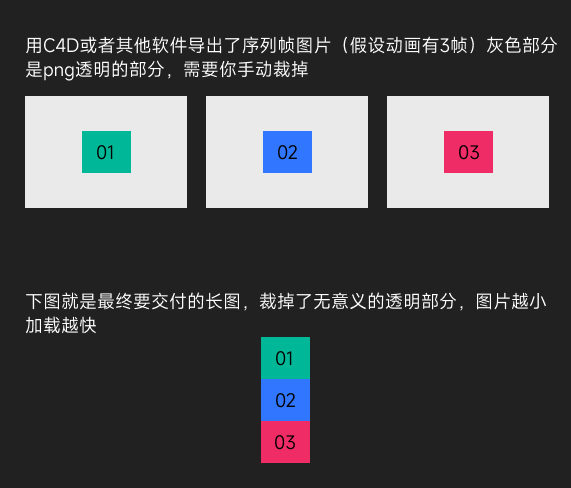
上面这个步骤,需要你使用PS一类的软件自己手动弄,并且记住裁切后的单张图片的宽度、高度、以及一共有几张图片。有了这3个关键的信息,程序员就可以写代码完成所有的工作了。
接下来我要用到我自己开发的插件《PS动效代码助手》来完成所有的工作,插件会自动生成长图片。
插件下载地址:
https://www.pslkzs.com/animate/index.php
接下的步骤是用插件生成的。如果你不使用插件,没有关系,可以自己手动拼接图片。手动拼接并没有什么难度,只是麻烦一点儿。拼接成长图片是属于PS(或其它设计软件)操作的基础,我这里就不专门写文章讲解了。
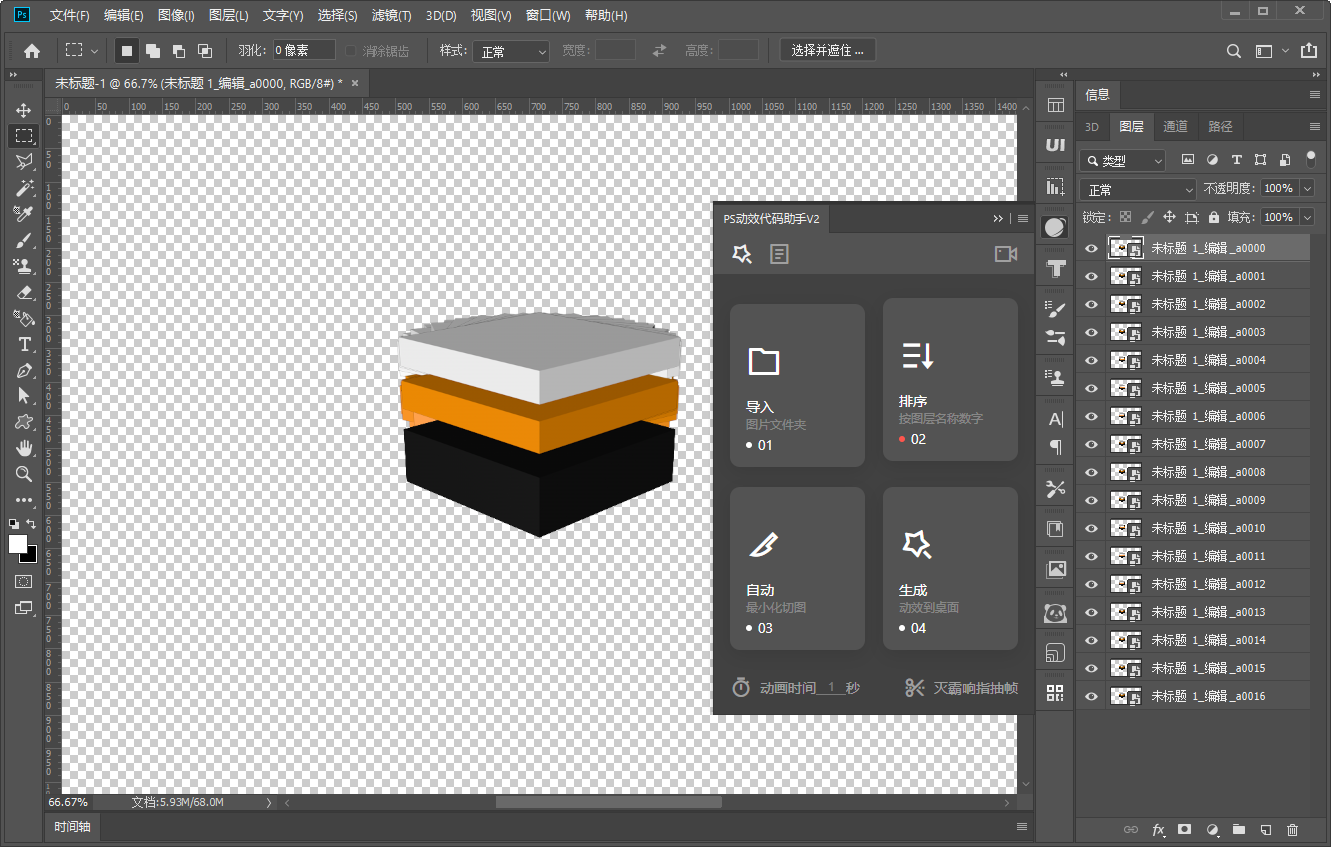
步骤1 打开PS,新建一个尺寸1920*1080 分辨率72dpi的空白文档,并且打开《PS动效代码助手》这款插件。

步骤2 点击插件上第一个按钮 导入。选择你之前存放C4D导出序列帧的那个文件夹(文件夹内必须只有png图片,没有别的其他东西)这样,所有的图片就都“置入”到了PS里面。
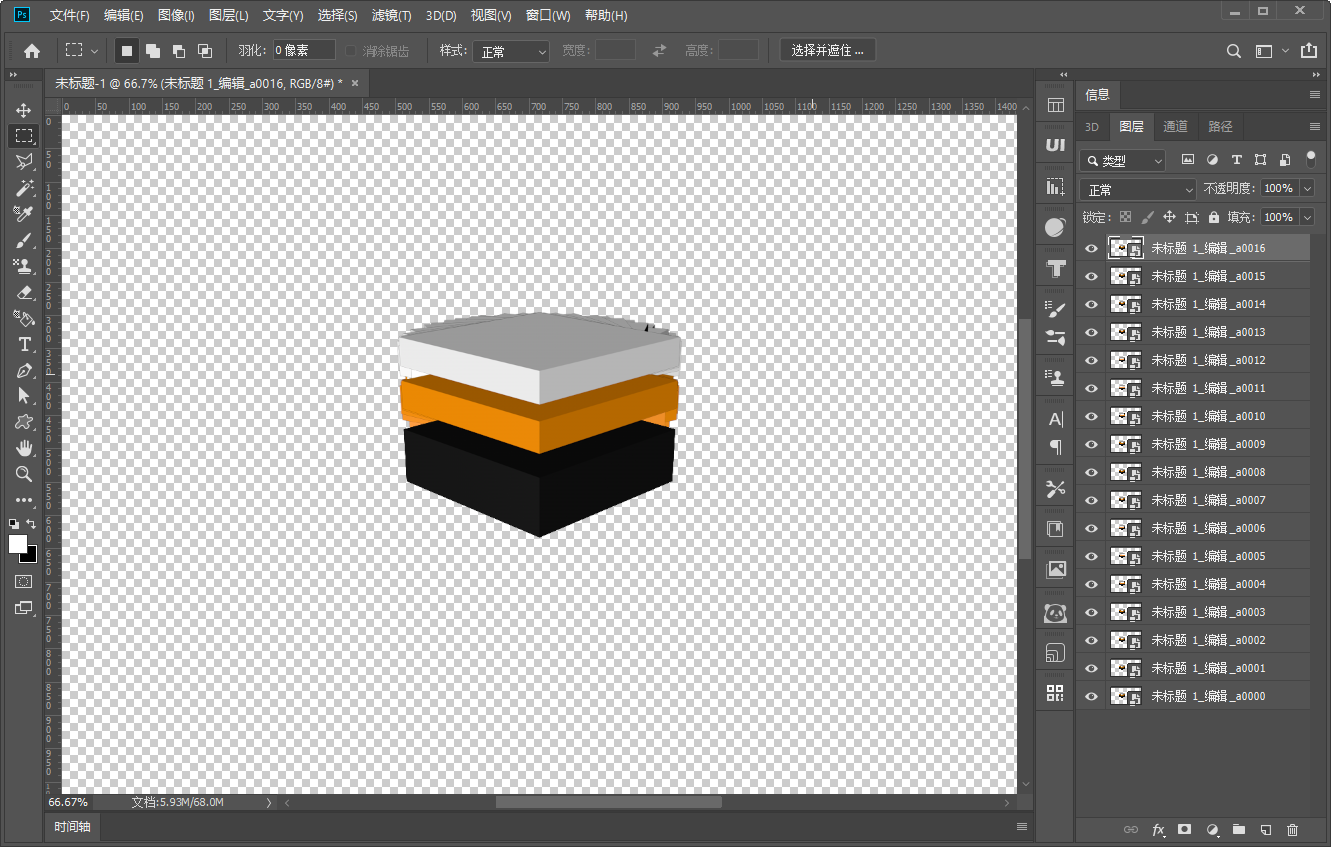
▲ 在右下角图层面板可以看到,有0-16共17张图片了。
步骤3 点击插件的第二个按钮,自动排序。点击后,图层的顺序就给你弄好了。
步骤4 点击插件的第三个按钮,最小化切图。这样图片空白的地方就自动给你裁切掉了。
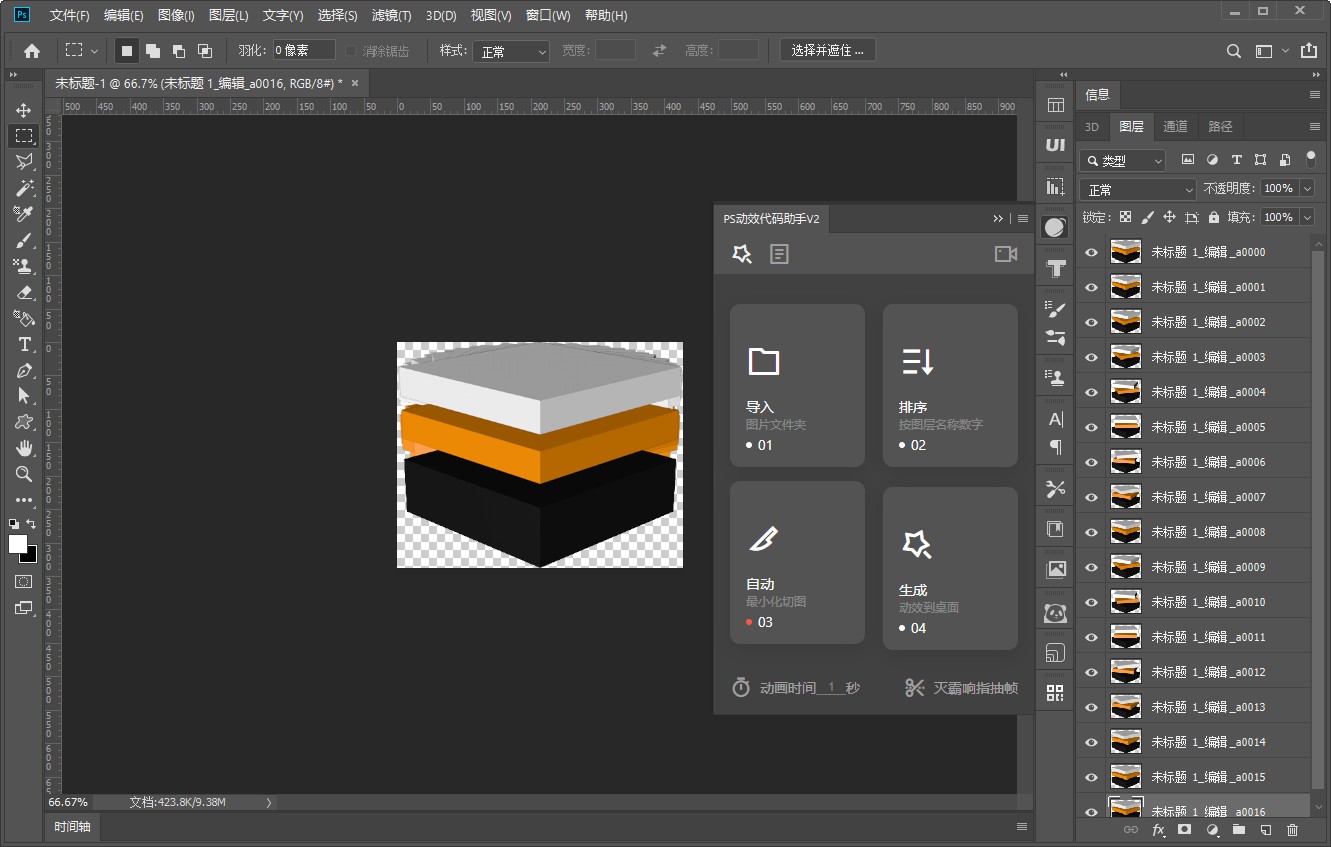
虽然多余的尺寸被切掉了,但是目前图标的宽度依旧有400多像素,我们只需要一个小图标,还要将它整体缩小。
步骤5 图像 > 图像大小,把宽度改成100,这样整个图标都变小了。
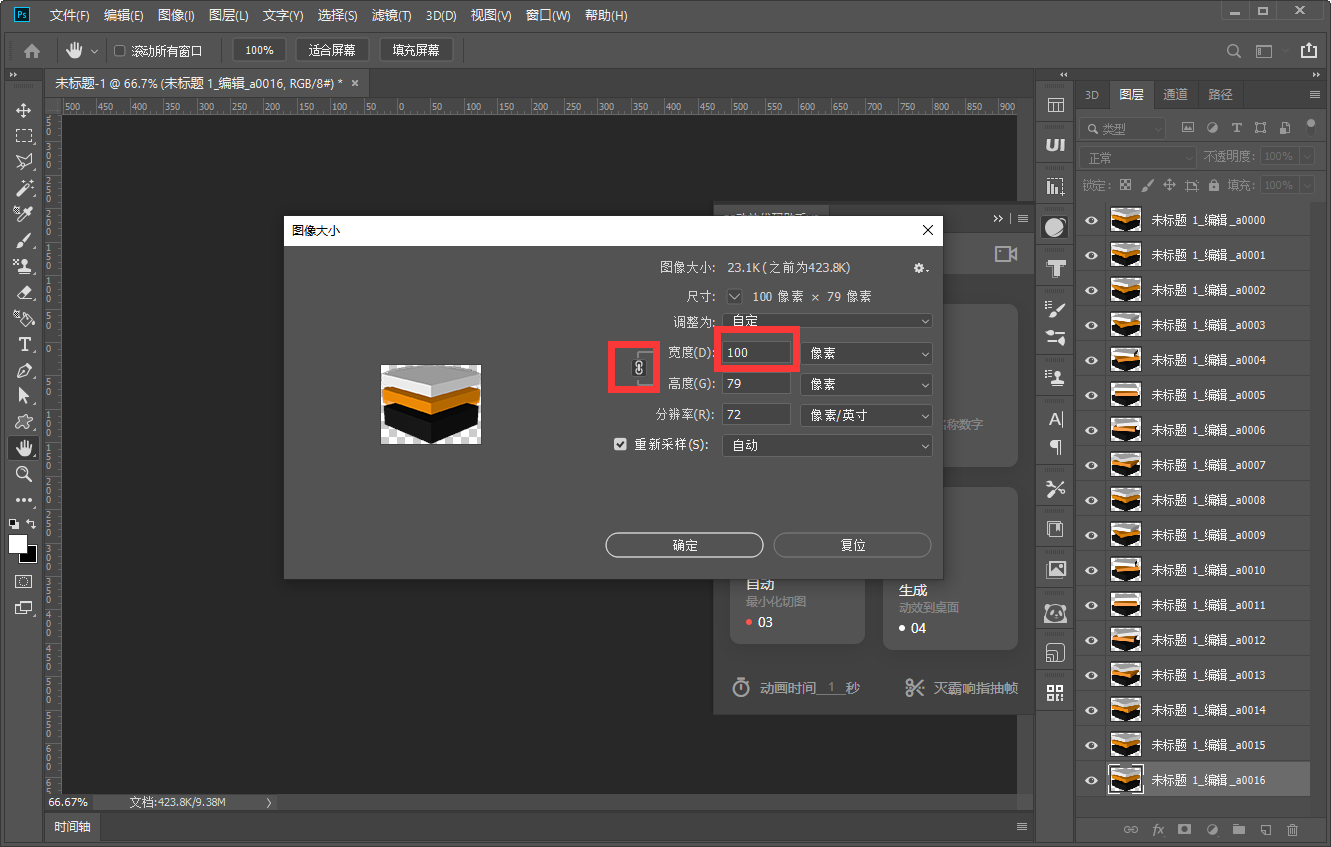
▲ 记得勾选等比例缩小的按钮。这样宽度和高度都整体变小了。
步骤6 点击插件第4个按钮,它会生成一个带动效的文件。里面包含一个html和一个拼接好的长图。
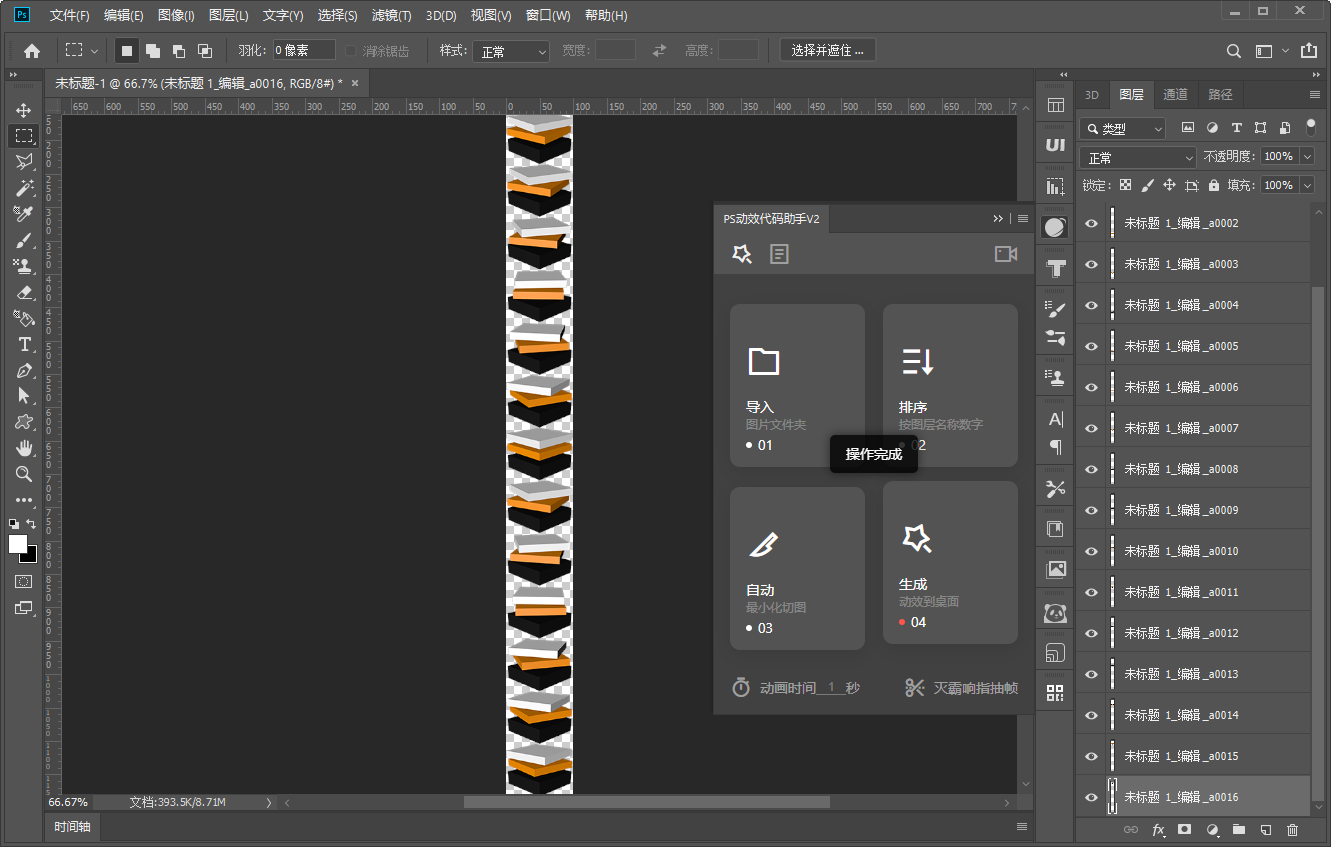
桌面上就会有一个生成好的文件夹,里面就有一个html文件和一个拼接好的png图片,如果你打开这个html文件,就能看到生成好的代码了。
▲ 动效代码助手是一款生成循环动效的工具,不过我们这次不是需要这种一直播放的动效。我们只需要它生成好的长图。
这就是它生成的长图了,是我们需要的。非常的完美。
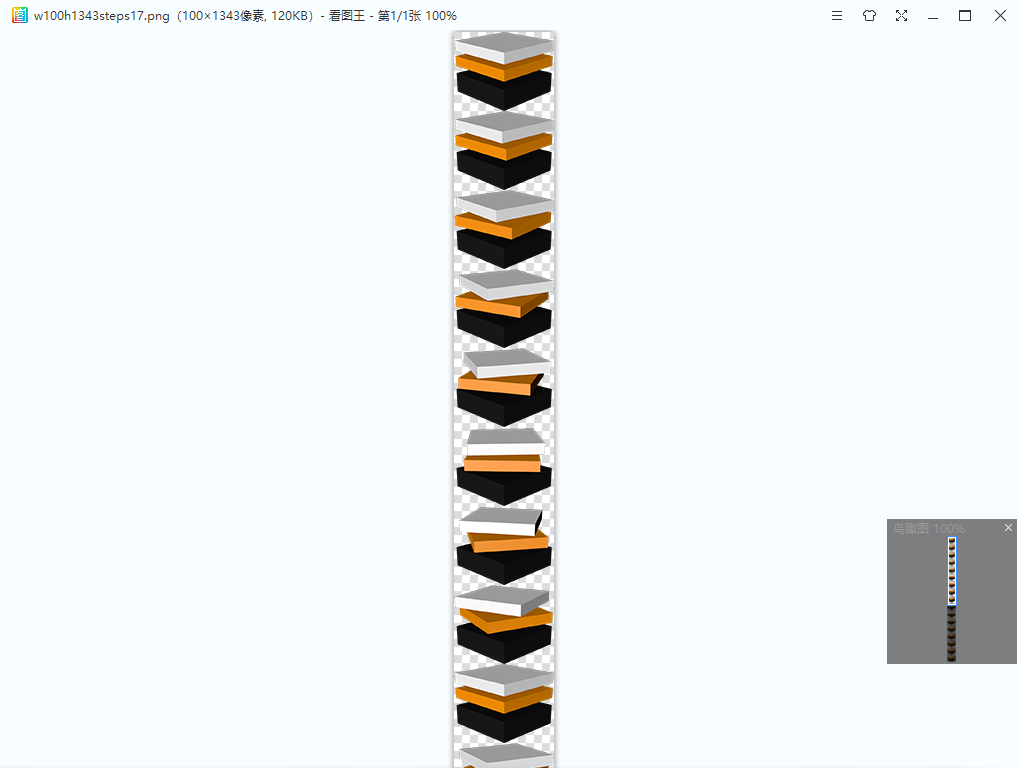
▲ 插件还很贴心,给生成的图片取了一个有意义的名字。图片的名称是:w100h1343steps17.png 其中 w 代表宽度,h 代表整张长图的高度,steps 代表一共有多少帧。也就是说:单个小图片的宽度是 100px,高度是 1347/17=79,一共有 17 帧。这些关键的信息要用来编程。
到这里,UI设计师的工作就全部完成了。剩下的部分就全部由前端程序员来完成了。如果你想学习代码,或者你们家的程序员不知道如何实现。可以看这个视频,里面录制了我逐行写代码实现的过程。
视频教程地址:


 鄂公网安备 42010202002647号